Manage Onboarding
Before entering the data in the various fields, please review the Field Validation section that is associated with the last sheet.
You may onboard new vendors and customers and keep them updated using the Manage Onboarding feature.
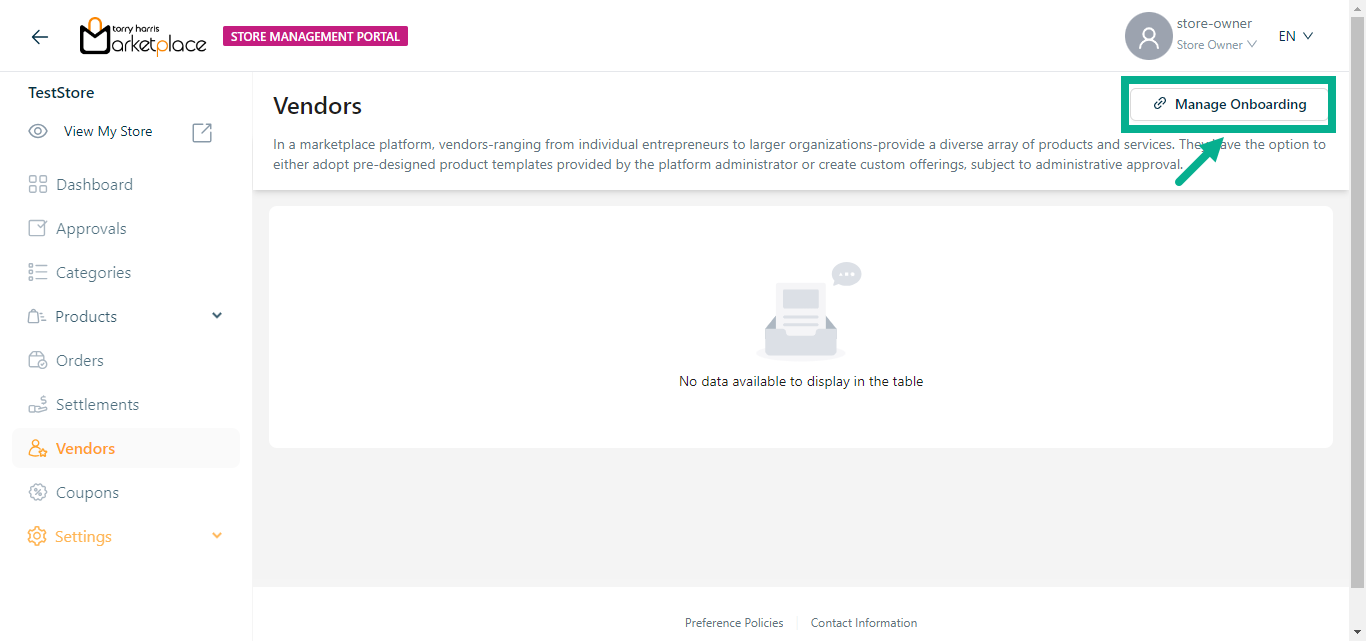
- Click Manage Onboarding.
The Onboarding Portal is launched in a new tab as shown below.
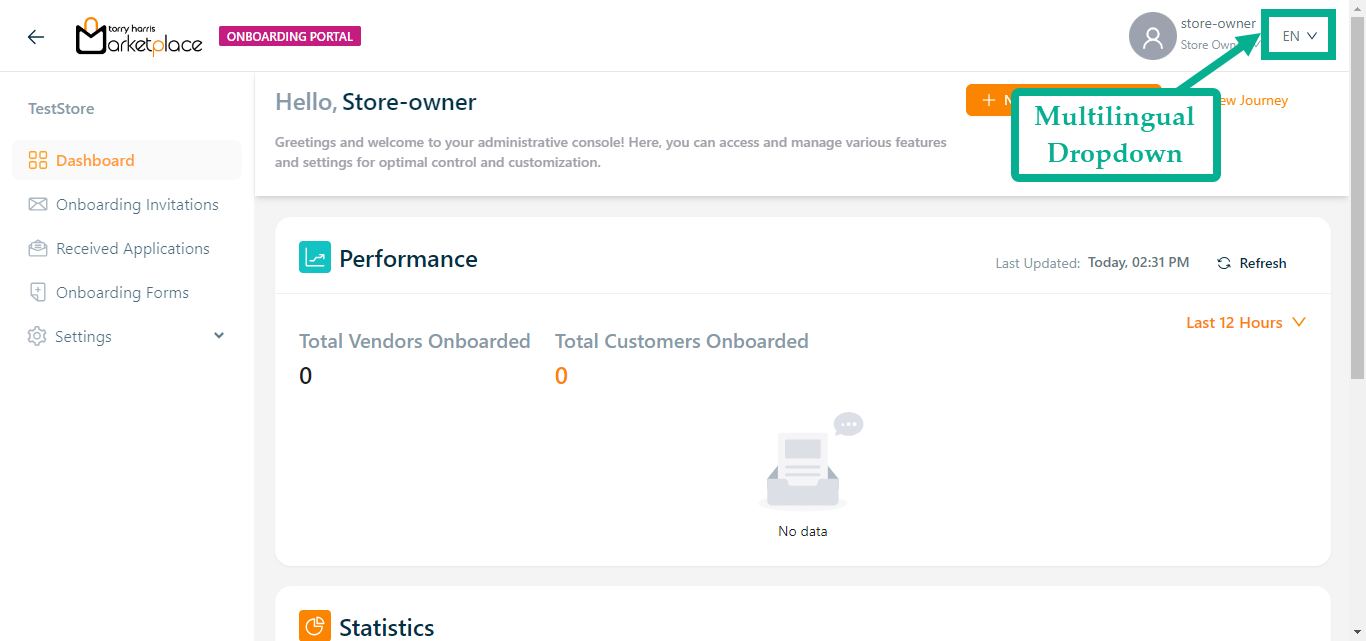
The Multilingual dropdown is enabled only if the store manager/owner has created and activated two or more languages in the Store management Portal.
Changing Languages on the Onboarding Portal
The languages appear in the Multilingual dropdown menu only if the store manager/owner has created and activated them in the Store management Portal.
For example, suppose the user wishes to change the language to German.
a. Click the Multilingual dropdown.
The drop down appears with the available languages as shown below.
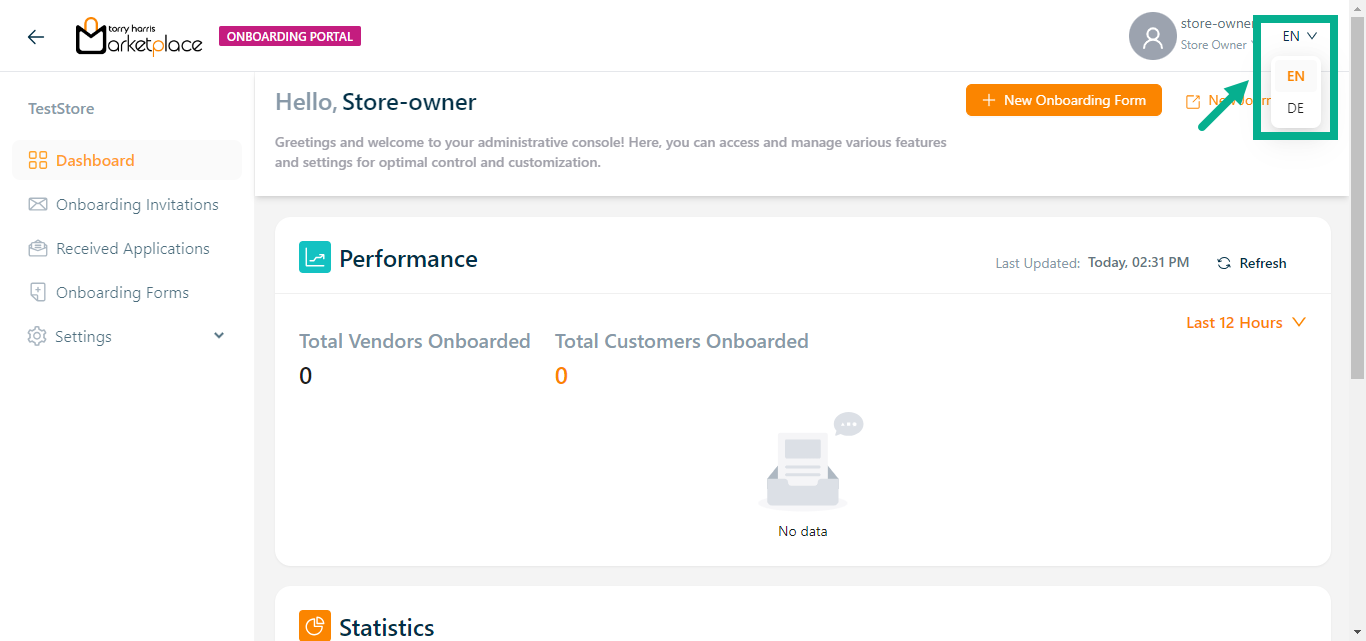
b. Click (DE) German.
The application appears in the chosen language (German), as shown below.

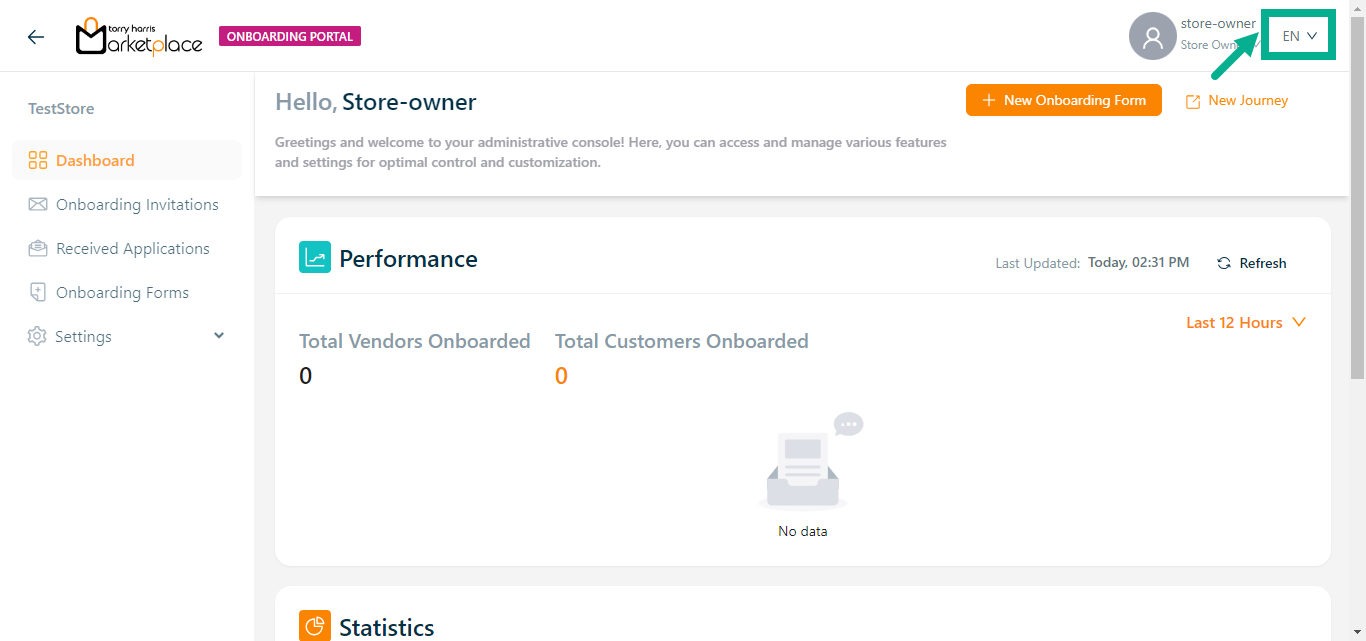
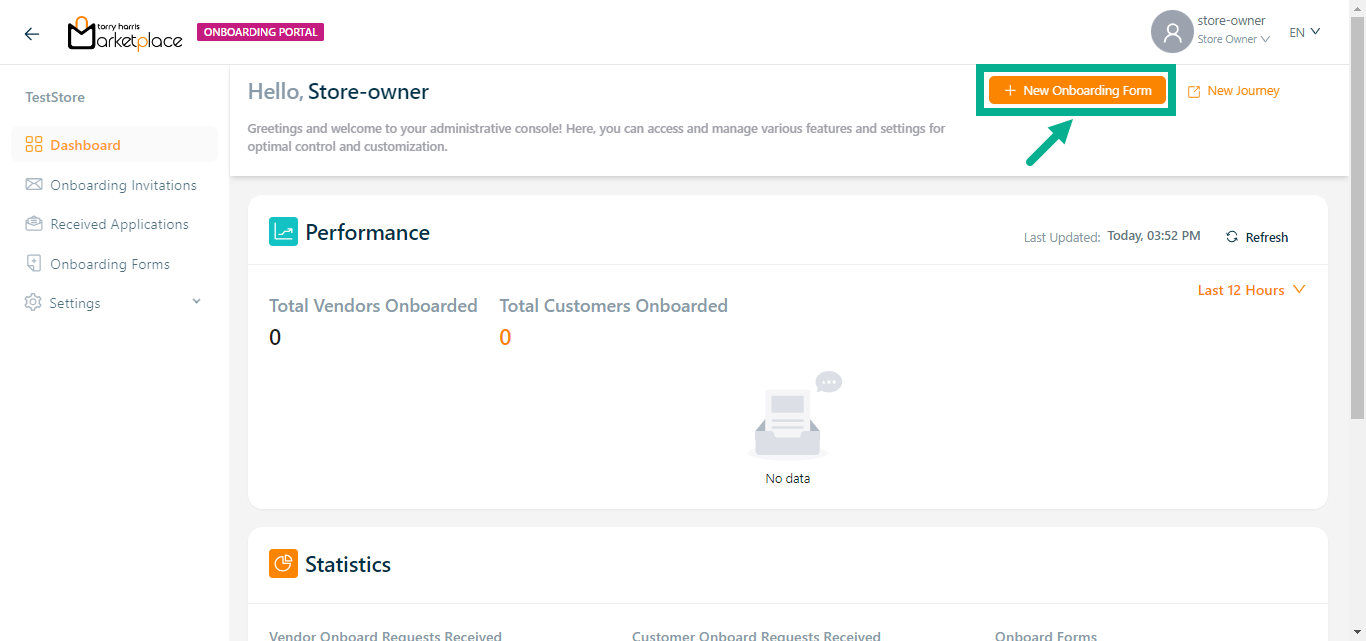
Dashboard
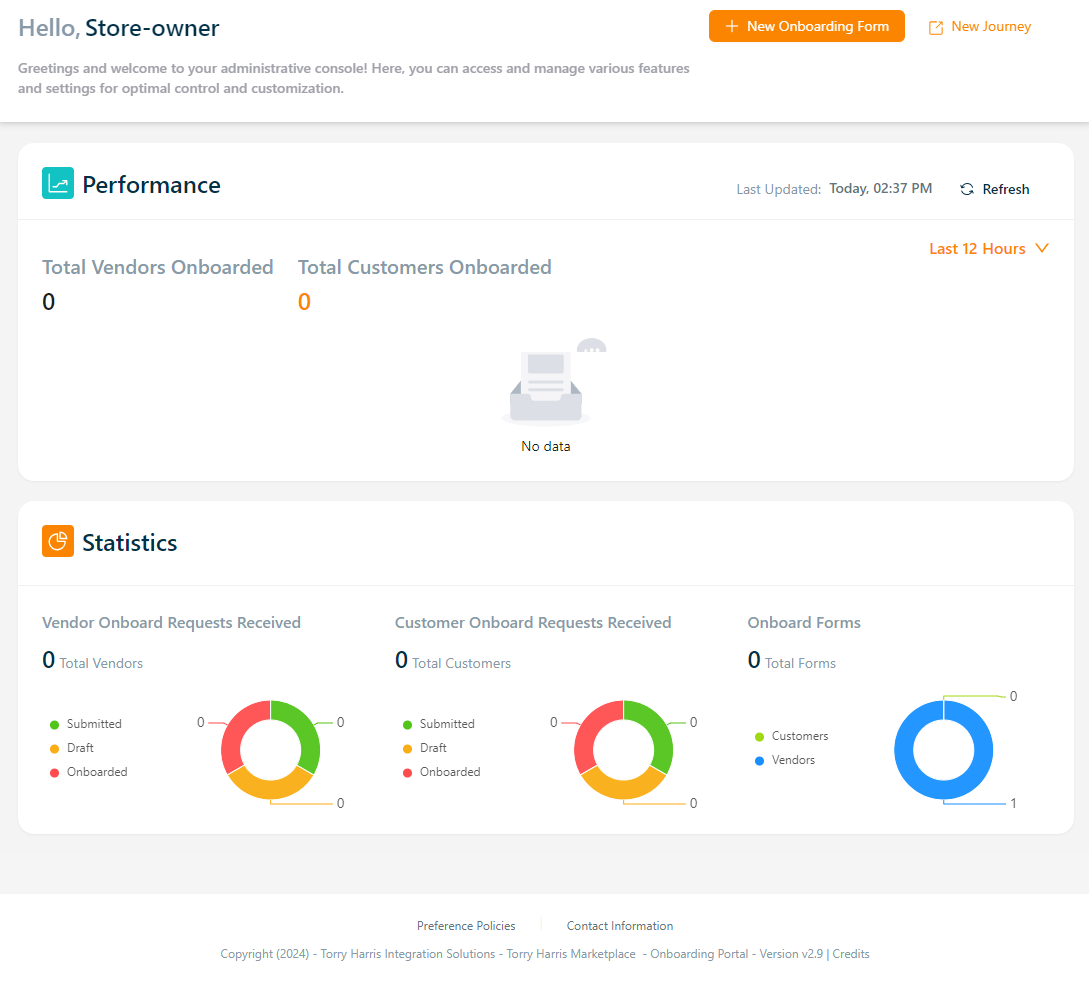
Click the New Onboarding Form button to onboard a new vendor/customers if necessary.
Click the New Journey button to create a new journey if necessary.
The Performance section displays the total number of onboarded vendors and customers.
The Statistics section gives a graphic representation of the total number of Vendor Onboard Requests Received, Customer Onboard Requests Received, and Onboard Forms.
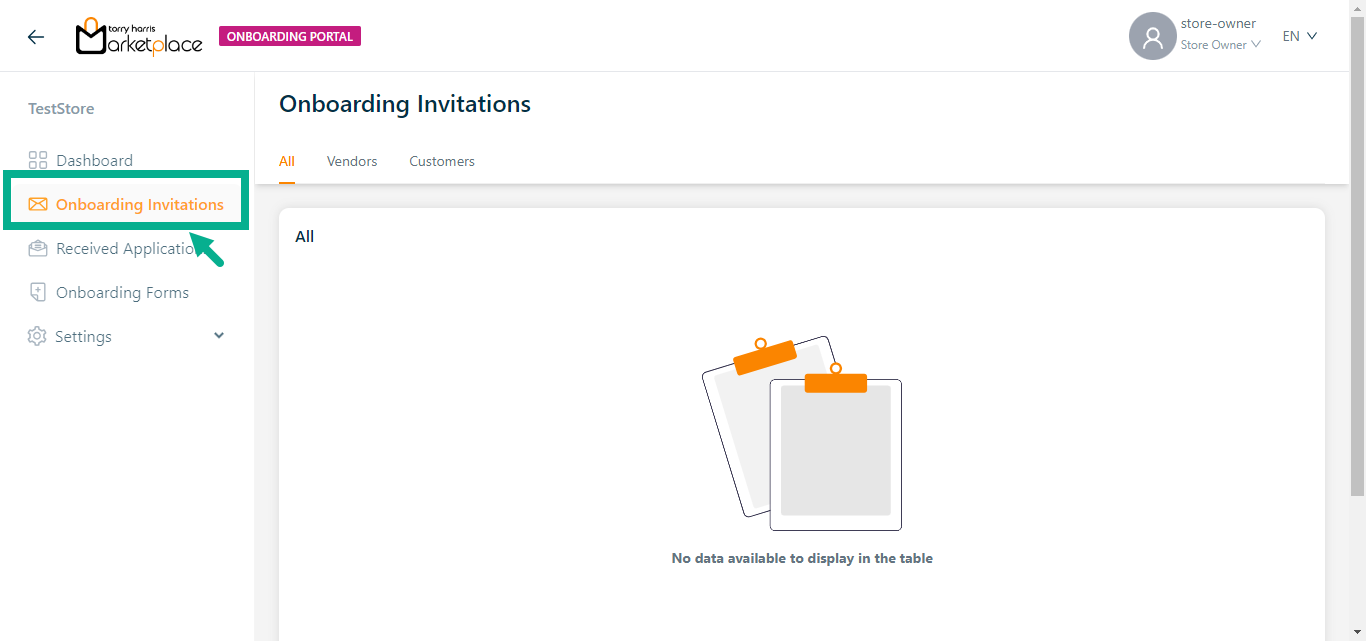
Onboarding Invitations
The number of vendors and customers who have been onboarded will be displayed in the Onboarding Invitations section.
The "All" tab displays both vendors and customers who have been onboarded, whereas the "Vendors" and "Customers" tabs display vendors and customers who have been onboarded respectively.
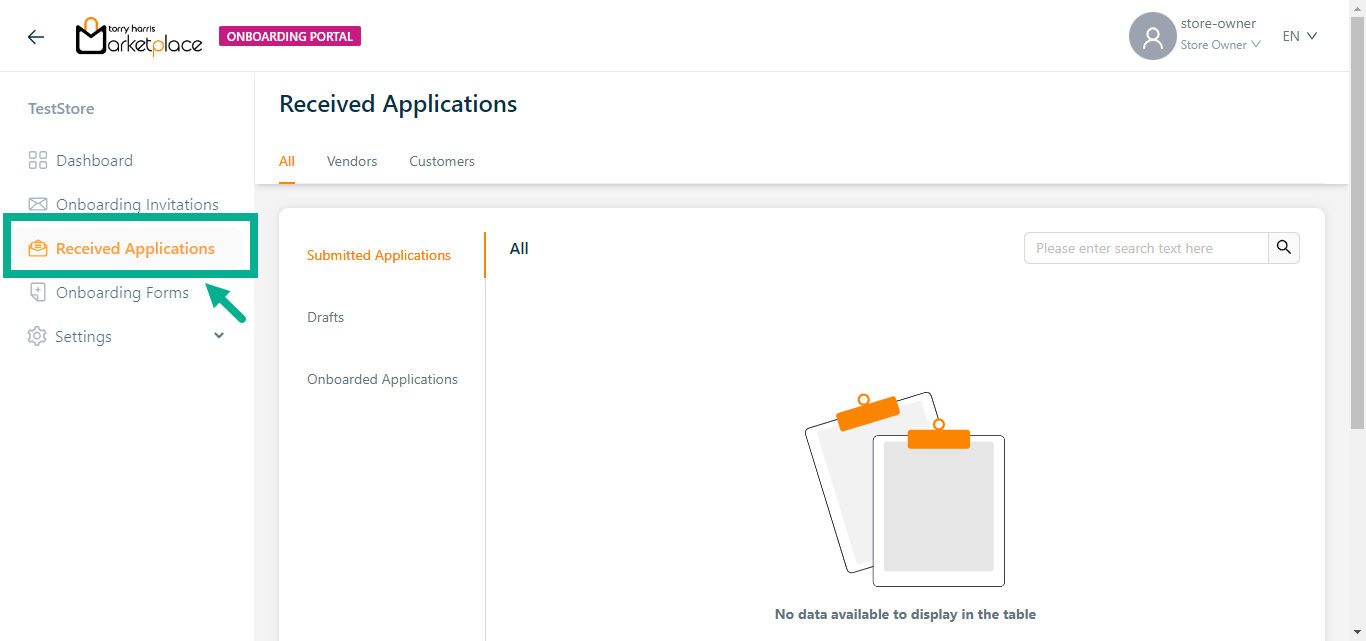
Received Applications
The Received Applications section displays a list of vendors and customers onboarding forms.
The "All" tab displays both vendors and customers onboarding forms, whereas the "Vendors" and "Customers" tabs display vendors and customers onboarding forms respectively.
Store owners can view onboarding forms based on their application status below.
- Submitted Applications.
- Drafts
- Onboarded Applications
Onboarding Forms
The Onboarding Forms section displays a list of created vendors and customers onboarding forms with approved and draft status.
The "All" tab displays both vendors and customers onboarding forms, whereas the "Vendors" and "Customers" tabs display vendors and customers onboarding forms respectively.
By default, a new store will have a Default Vendor Onboarding Template that is in the Published state.
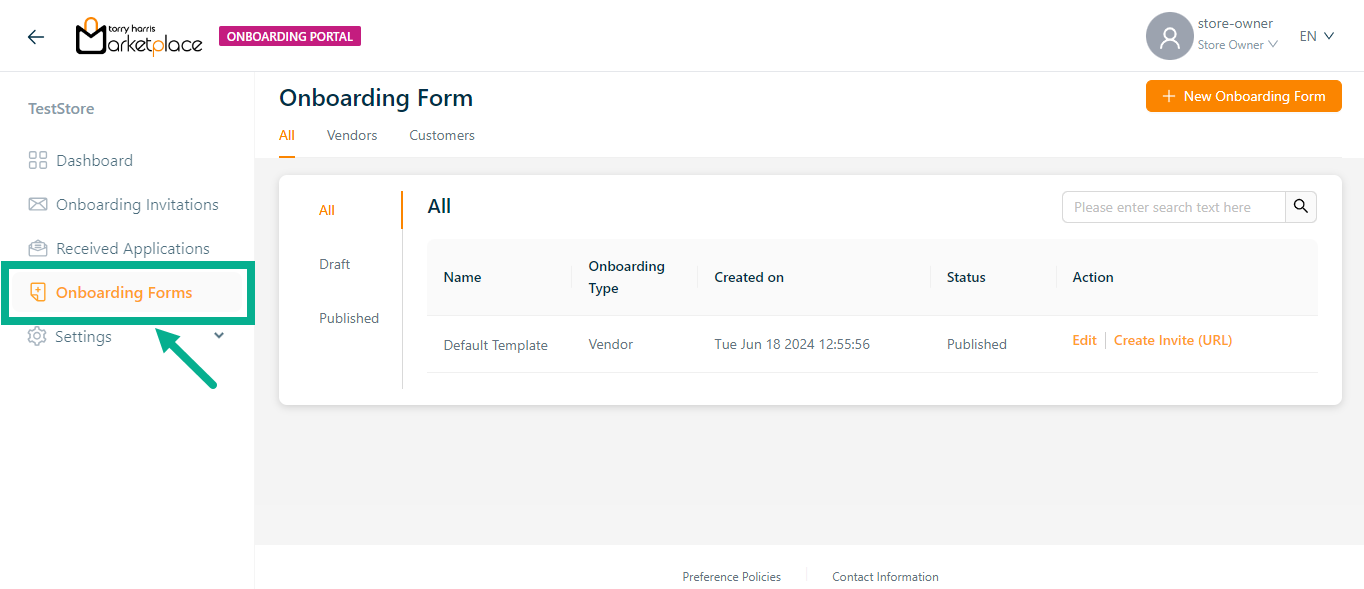
Click New Onboarding Template button to create a new vendor/customer onboarding form if necessary.
Click Create Invite (URL) button to create an Invite url for approved vendor/customer onboarding form.
Settings
Field Groups
Field groups help organize similar fields.
For example: while collecting vendor details, mobile number and email address can be grouped under "Contact Information".
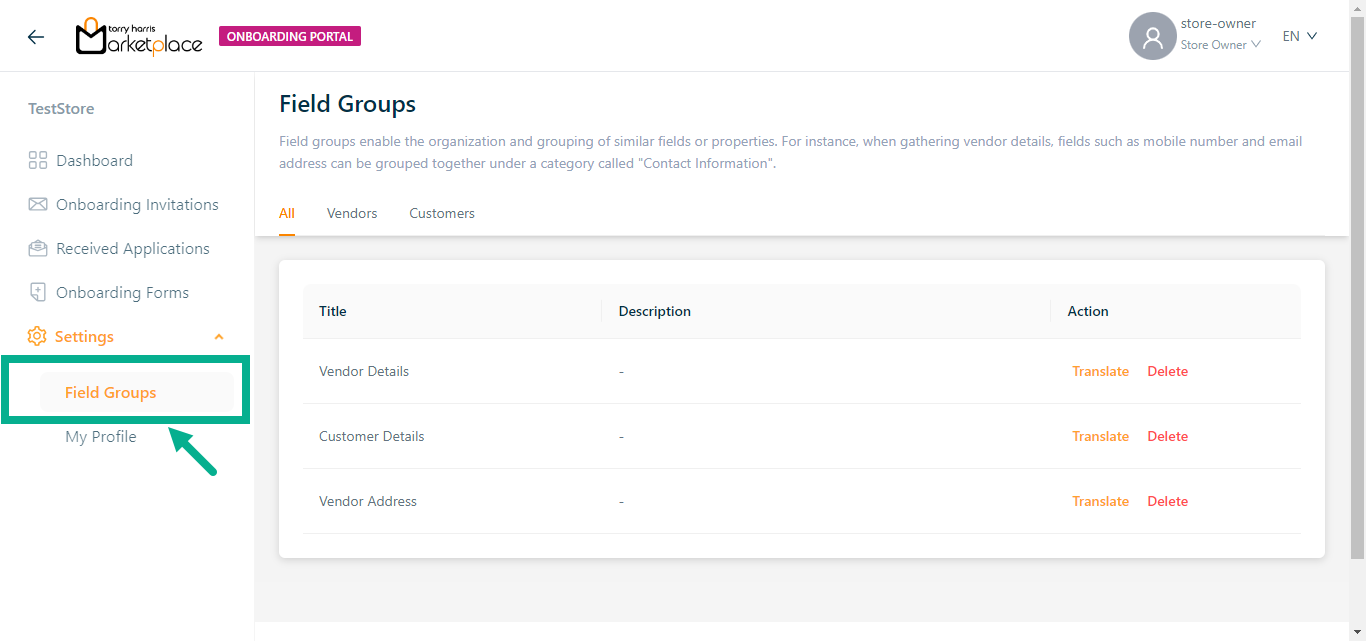
Click Delete to delete the field group if necessary.
Translating a Field group
- Click Translate.
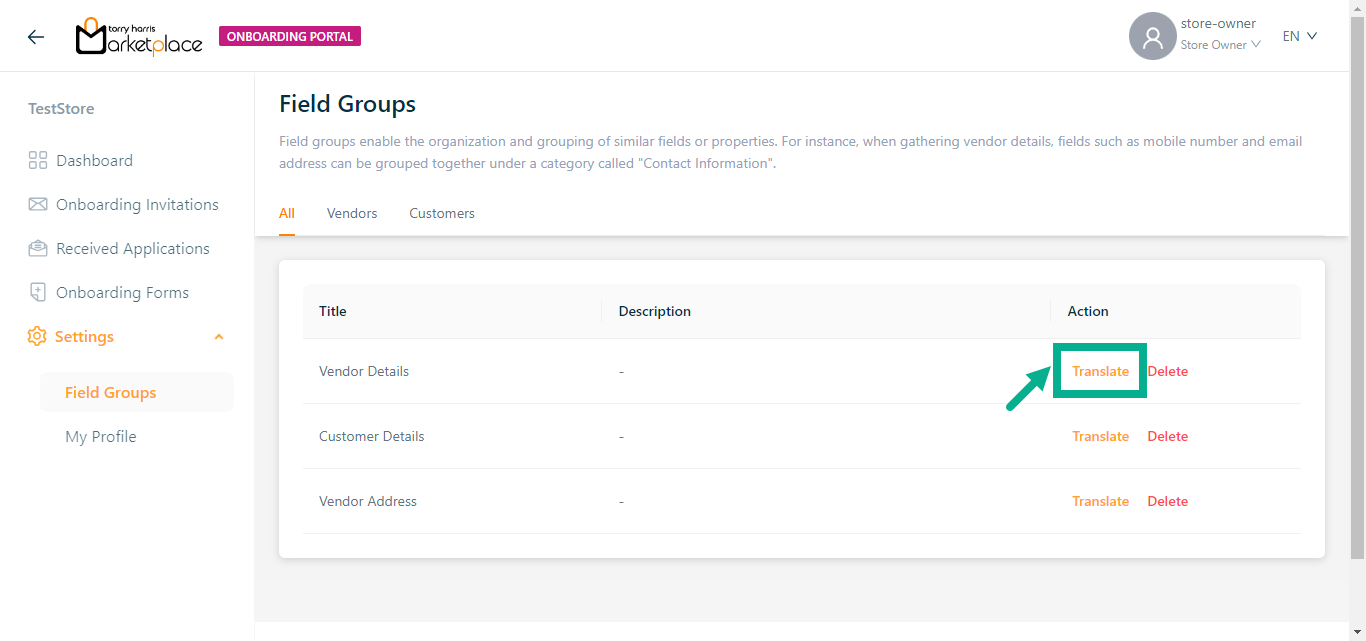
The screen appears as shown below.
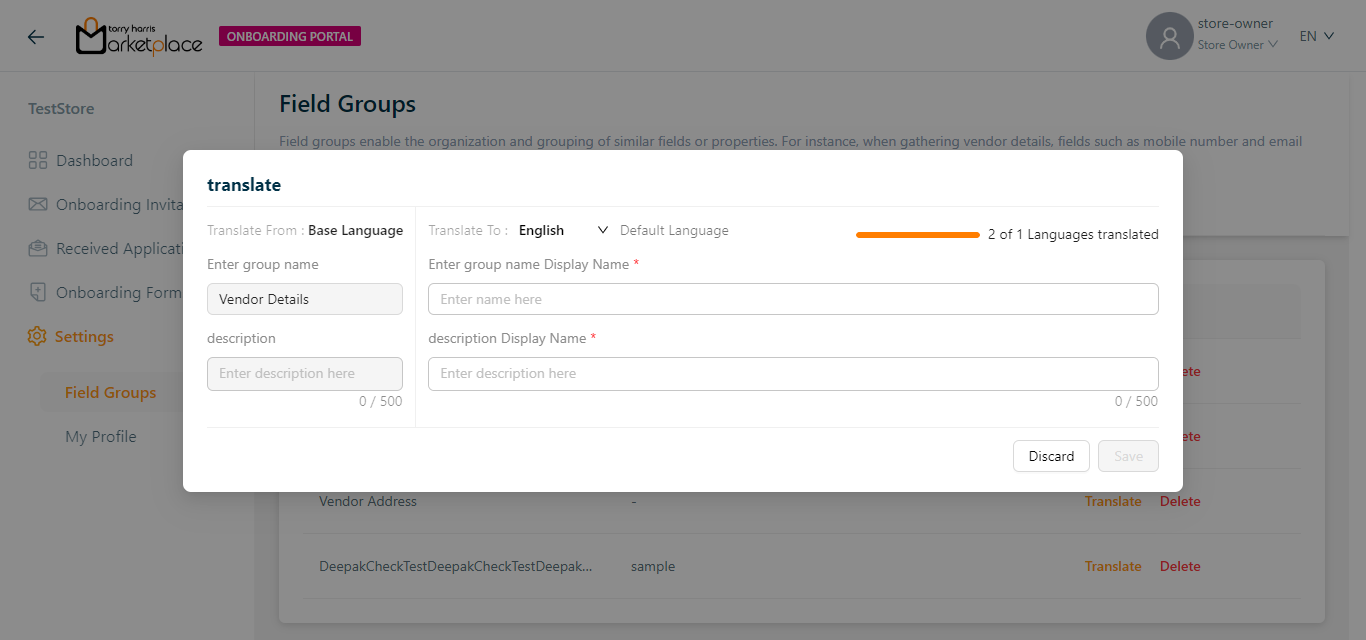
- Select Translate To from the drop down.
The languages appear in the Translate To dropdown only if the store manager/owner has created and activated them in the Store management Portal.
- Enter group name Display Name.

Enter Description Display Name.
Click Save.
If multiple languages are available, a dialogue box appears, shown below.
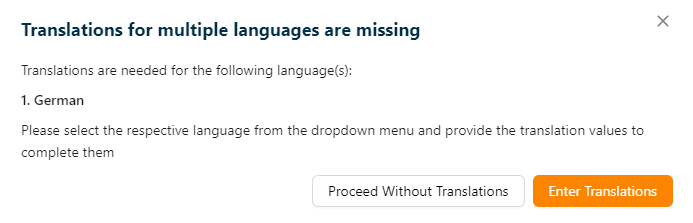
- Click Proceed Without Translations to save the provided data without translating it into another language.
On proceeding without translation the provided data will be applied to all other languages.
Click Enter Translation to enter the translate for other language.
On proceeding, the confirmation message appears as shown below.

My Profile
This displays a brief description of the user, including First Name, Last Name, Email ID and User Onboarded date.

- Click the Change Password button to change the password.
The Change Password dialogue box appears as shown below.
The new password should not be equivalent to the previous three passwords.
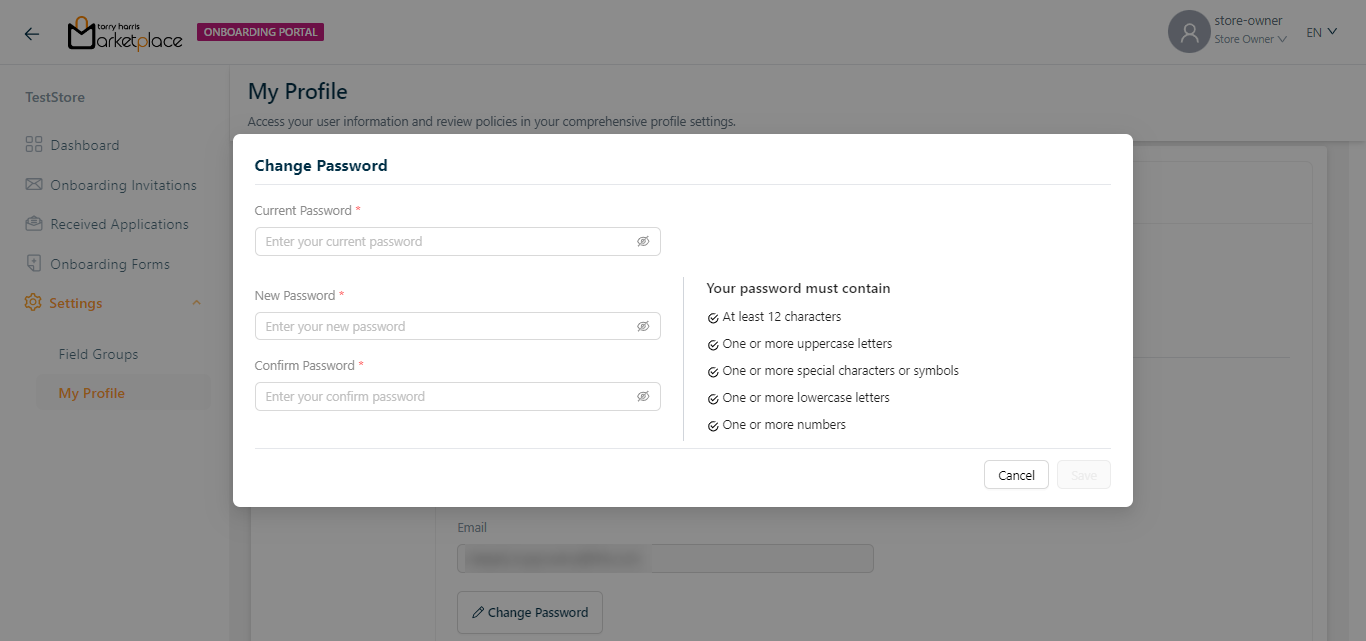
- Enter the Current Password, New Password, and Confirm Password.
Password must contain minimum of 12 characters and include at least one uppercase letter, one lowercase letter, one number, and one special character.
- Click Save.
On saving, the confirmation message appears as shown below.

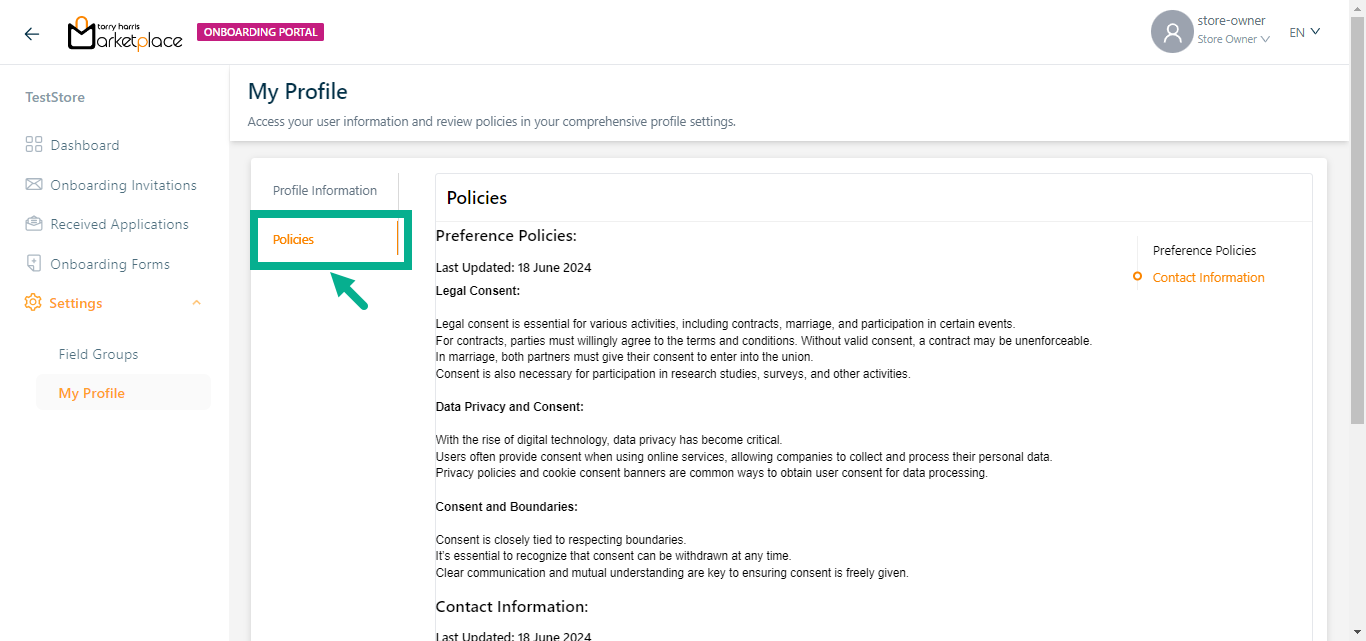
Policies
The relevant policies and contact Information for the onboarding portal are shown in this section.
Policies:
Creating complete flow for vendor onboarding form
- Click the New Onboarding Form (+ icon).
The Add New Onboarding Form dialogue box appears as shown below.
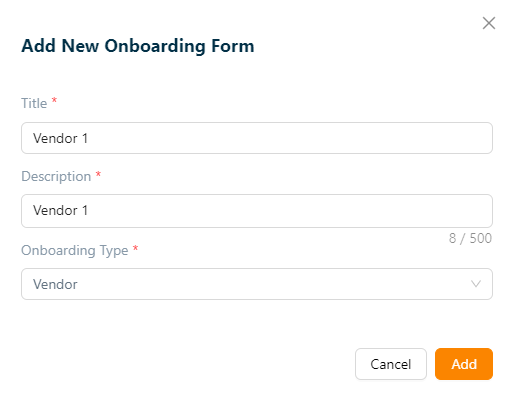
Enter the Title and Description.
Select Onboarding Type as Vendor.
Click Add.
On adding, the confirmation message appears as shown below.

- Click Add Fields to add field below the Vendor Details section.
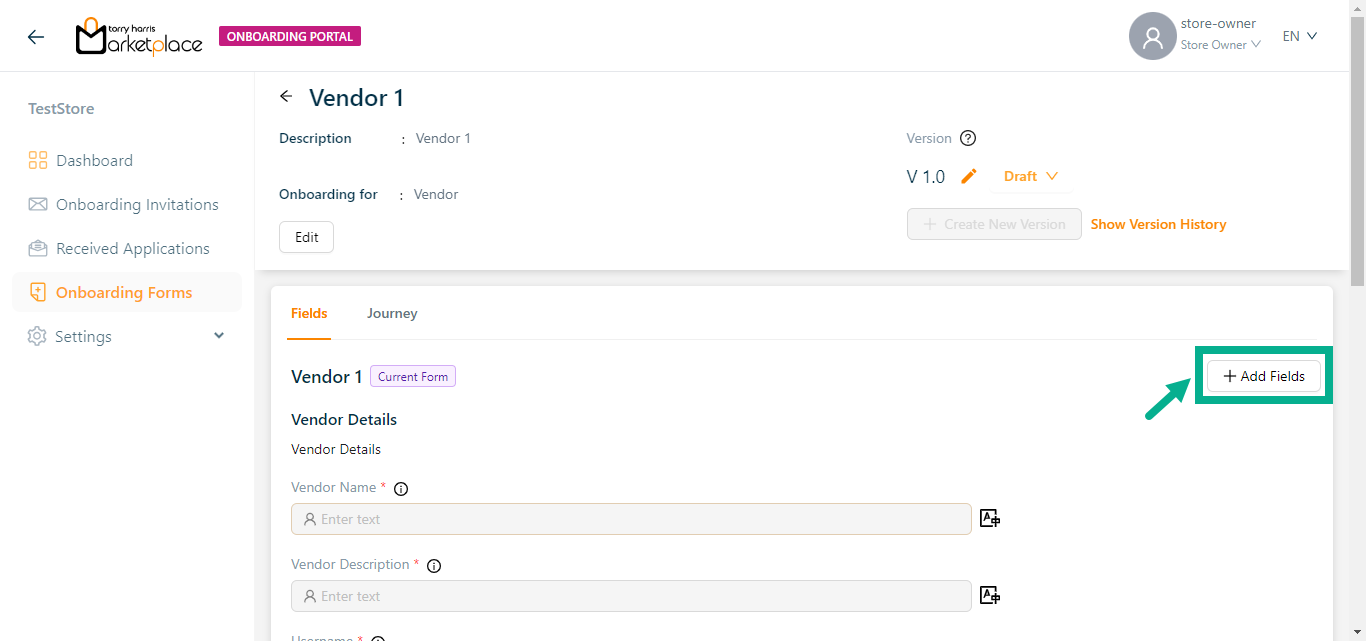
The Add Fields button is located in two places: in the top right corner and at the bottom of the Fields section.
Choose a component dialogue box appears as show below.
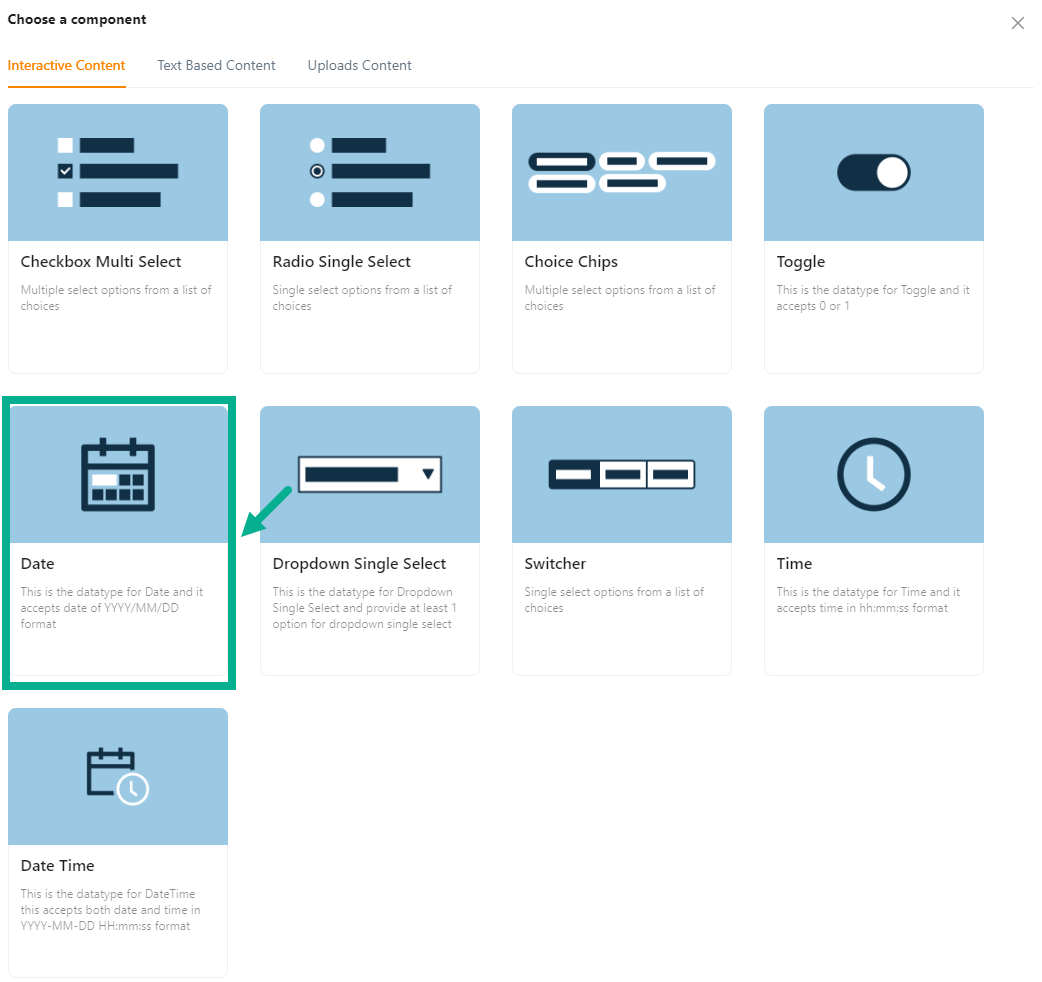
For instance: If the user has to include a field for the Date of birth.
a. Click Date.
Add Field dialogue box appears as shown below.
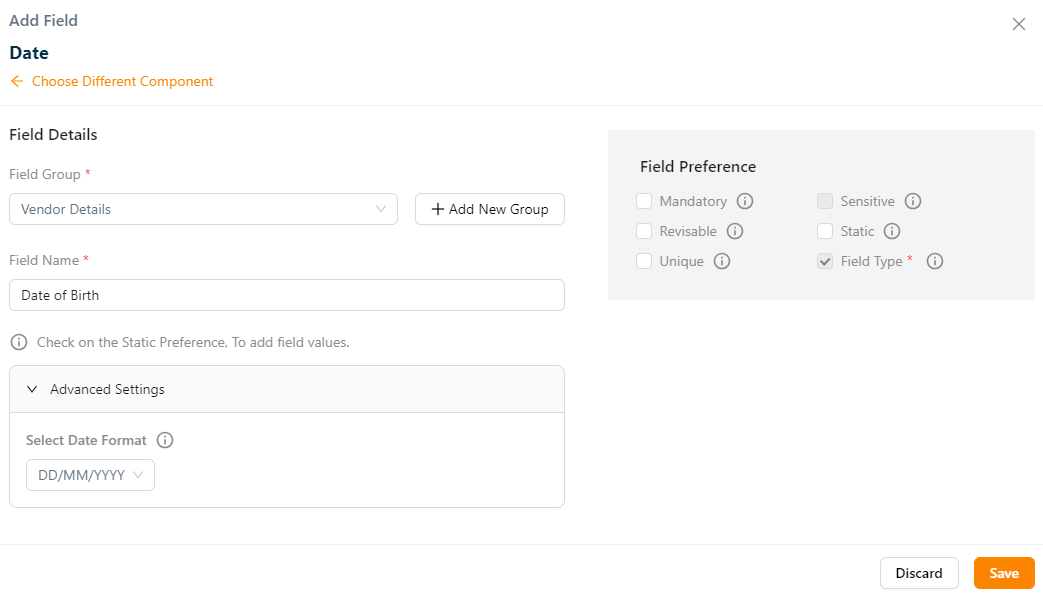
b. Select the Field Group from the dropdown.
c. Enter Field Name.
d. Select Date Format from the drop-down.
e. Select the Field Preference values by clicking the corresponding checkboxes.
The various Field preference options are given below:
- Mandatory - This value is mandatory when a product is published.
- Revisable - If false, the values are allowed to be updated without approval even when the state is published. Eg:Discount by vendor published products.
- Unique - This value should be unique for store level. Eg:Email id on vendor onboarding and Mobile number on custom onboarding.
- Field Type - The type of attribute where the value is required to be fed.
- Sensitive - This is a sensitive field to encrypt the storage and display.
- Static - Static value.
f. Click Save.
Refer to the Product Templates module in the Store Management Portal/Vendor Portal to create the remaining attributes.
On saving, the confirmation message appears as shown below.

The newly created field is added to the appropriate field group, as shown below.
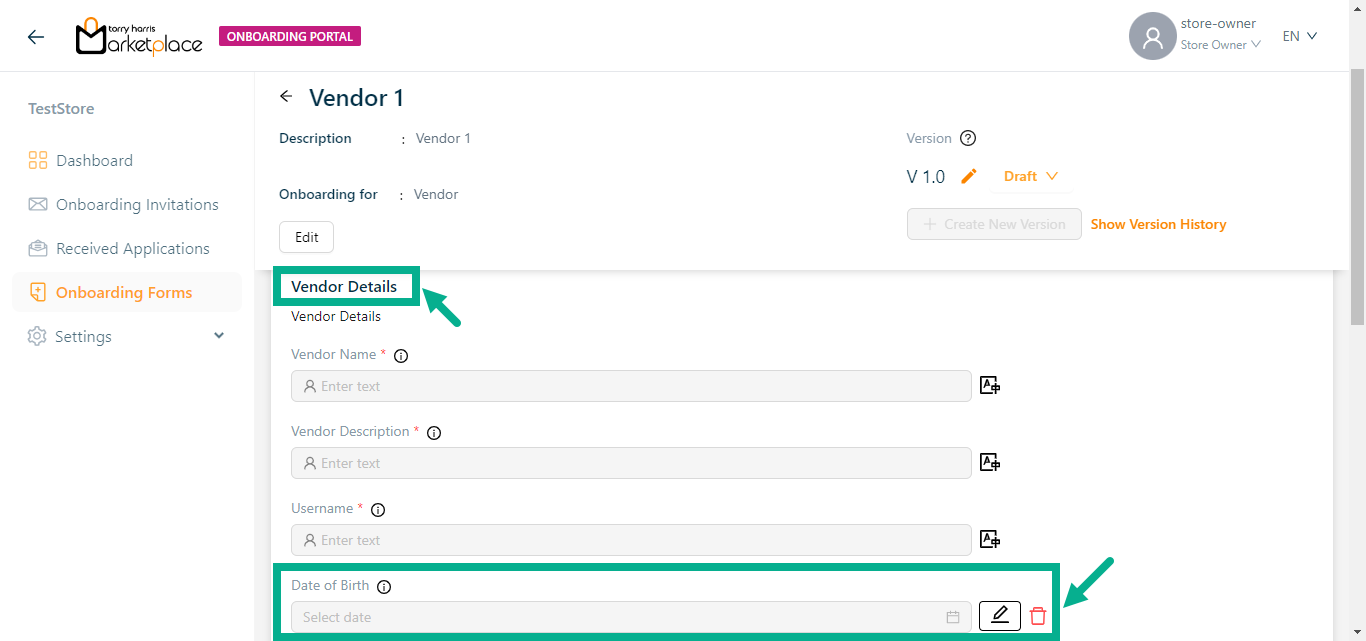
Click the Edit icon to edit the added field if necessary.
Click the Delete icon to delete the added field if necessary.
Click Journey tab.
Select the Associated Journey from the drop down.
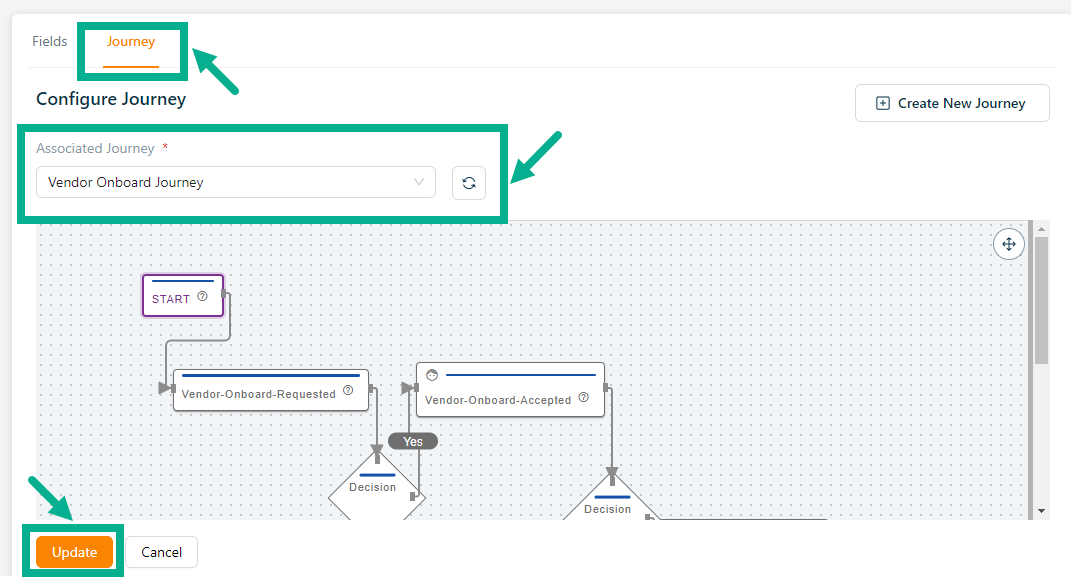
- Click Update.
Upon updating, the confirmation message appears as shown below.

If a new journey is required, click Create New Journey.
Approving a Vendor
Before approving the onboarding form, user should configure the journey.
- Click Approve from the drop-down.
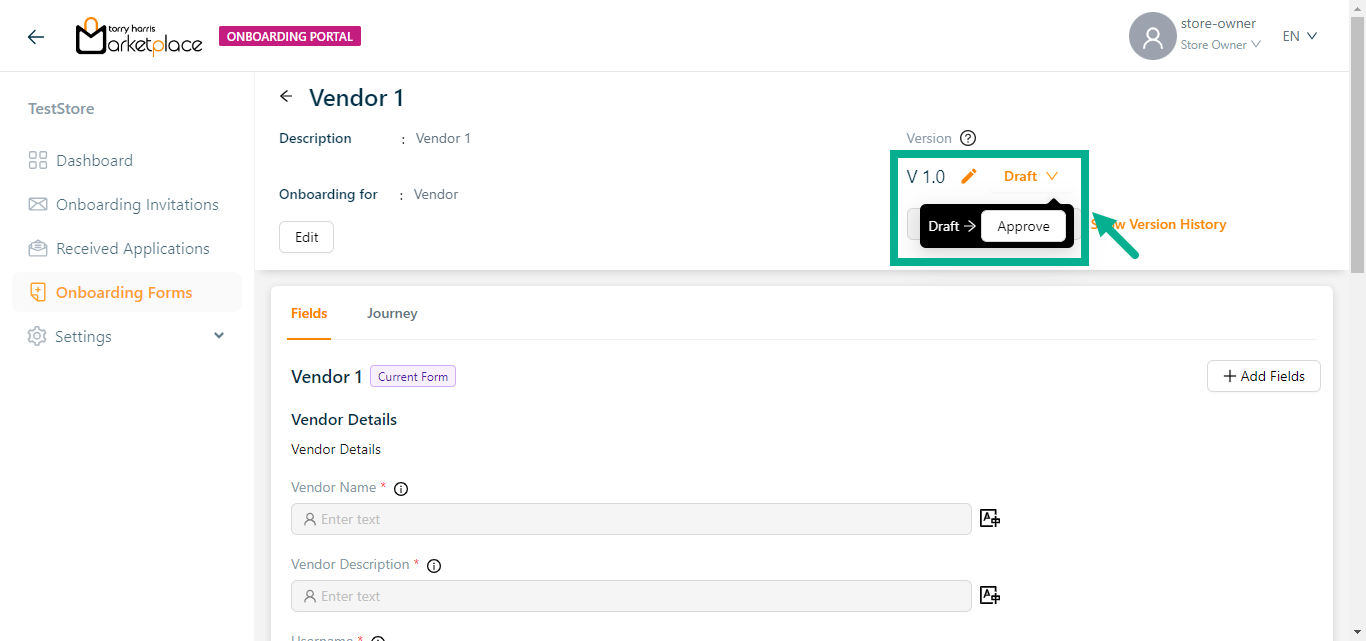
The dialogue box appears as shown below.

- Click Yes.
On proceeding, the confirmation message appears as shown below.

Deprecating a Vendor
- Click Deprecate from the drop-down.
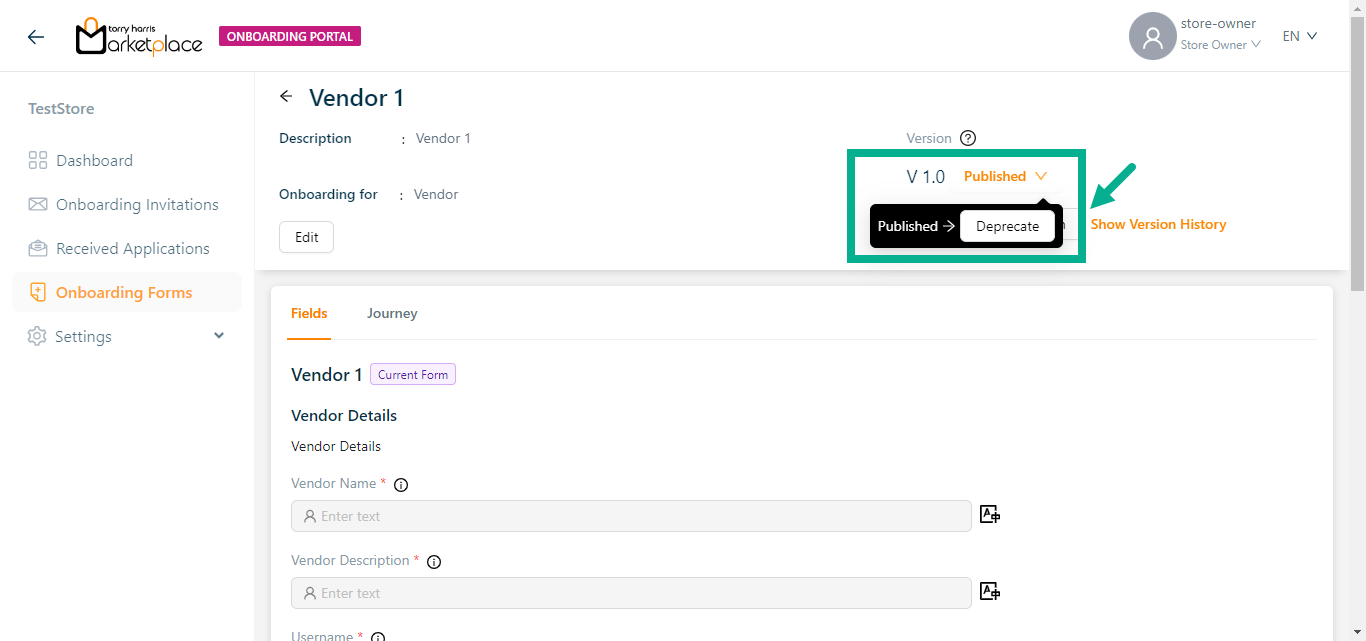
The dialogue box appears as shown below.
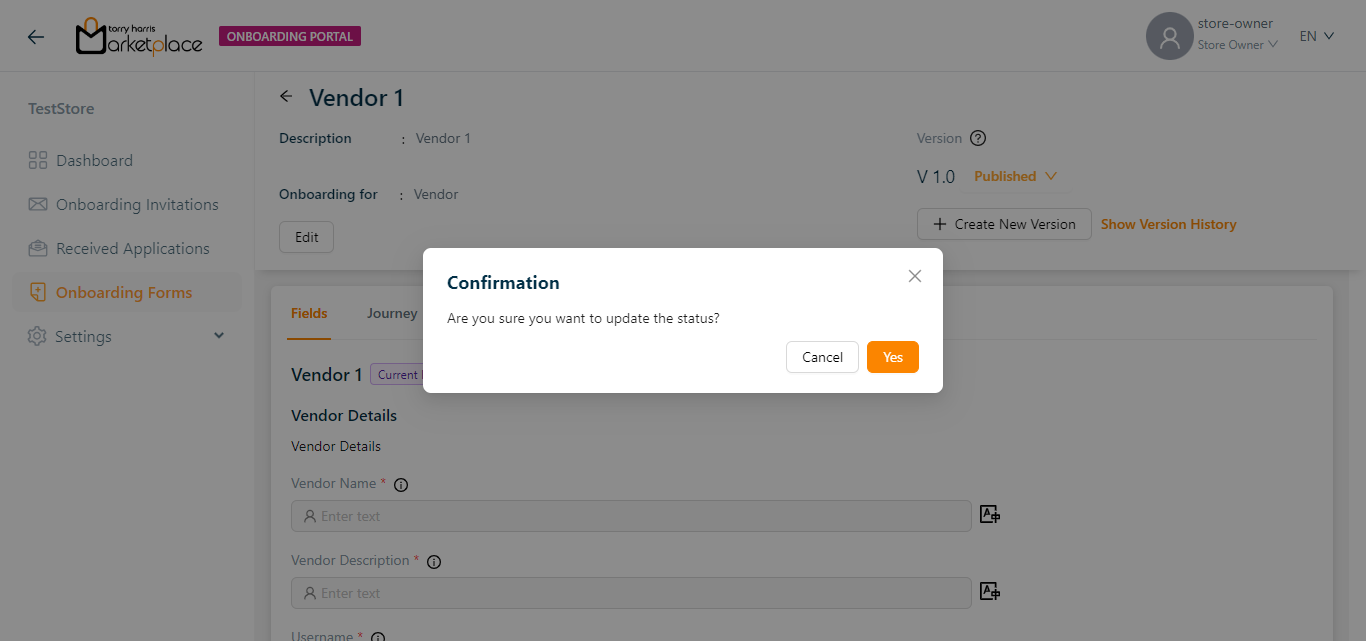
- Click Yes.
On proceeding, the confirmation message appears as shown below.

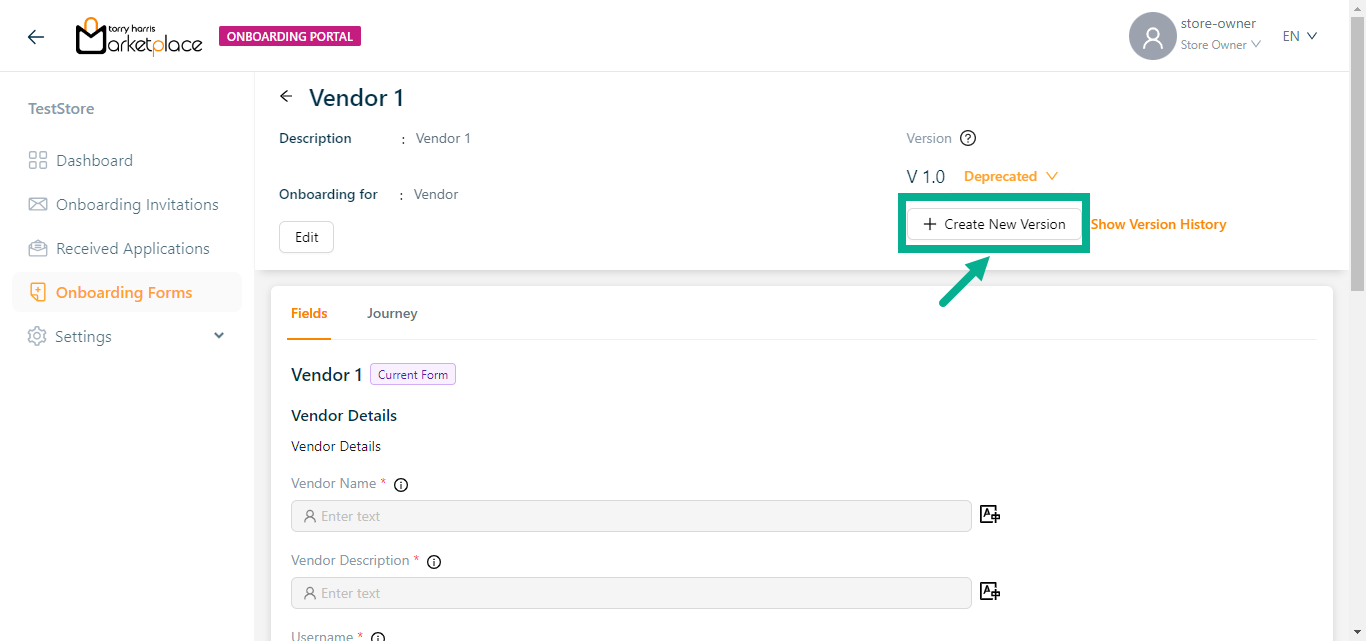
Creating a new version
The user can not create a new version when the vendor form is in draft status.
- Click Create New Version.
Create Onboarding Type Version dialogue box appears as shown below.

Click the Edit icon to edit the Version Number.
In the case when the most recent version number is 1, the amended version number should be 1.1 or higher.
Enter the Version Description.
Click Create.
On creating, the confirmation message appears as shown below.

View the Version History
- Click Show Version History.
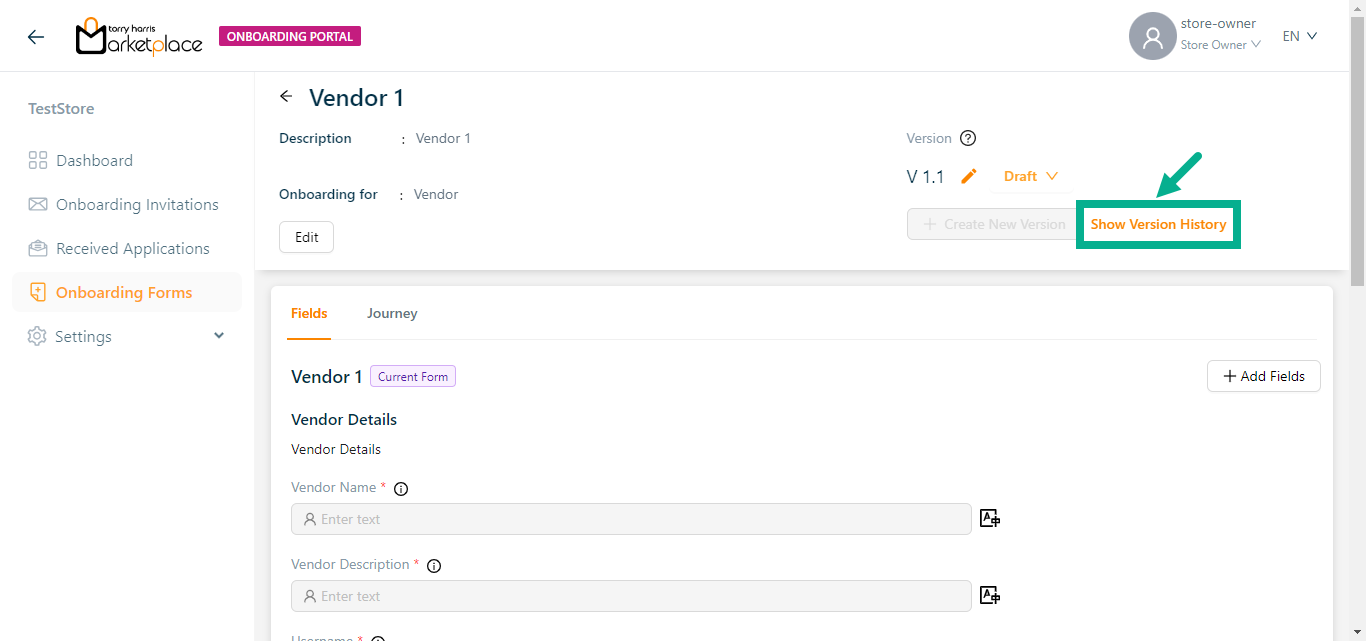
The Version History side bar appears as shown below.

By clicking the relevant version in the Version History, a user can move between versions.
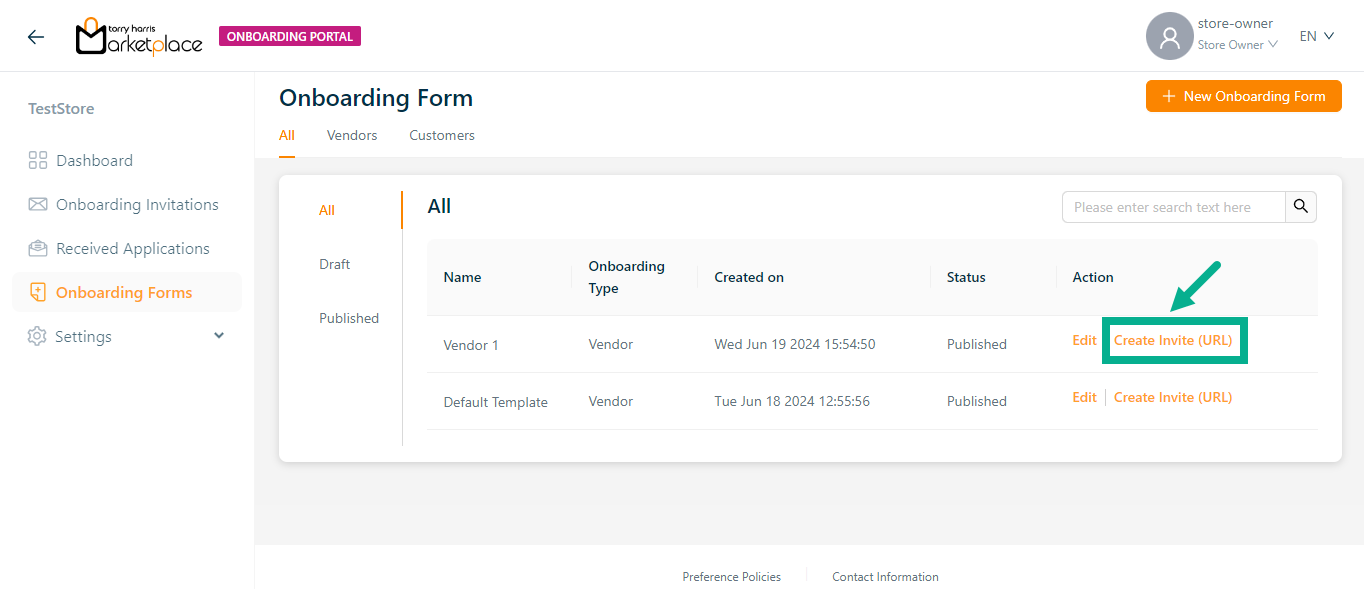
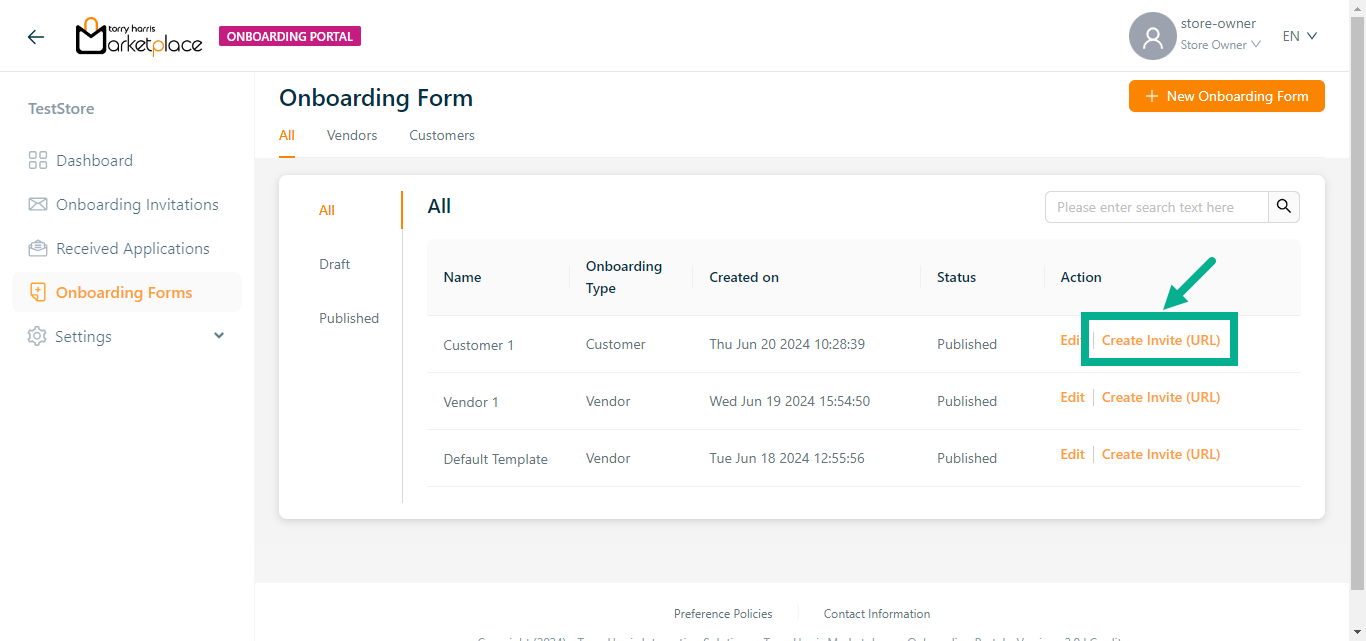
Create Invite (URL)
Create Invite (URL) can be used for forms that are in the Published status.
- Click Create Invite (URL).
Create Onboarding screen appears as shown below.
- Enter Description.
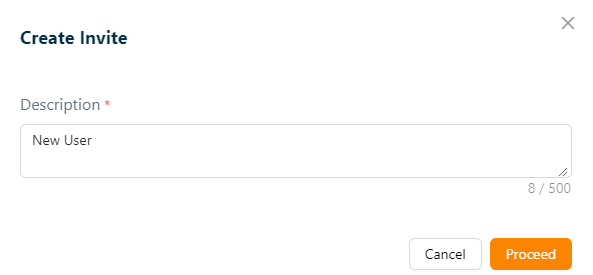
- Click Proceed.
On proceeding, the confirmation message appears as shown below.
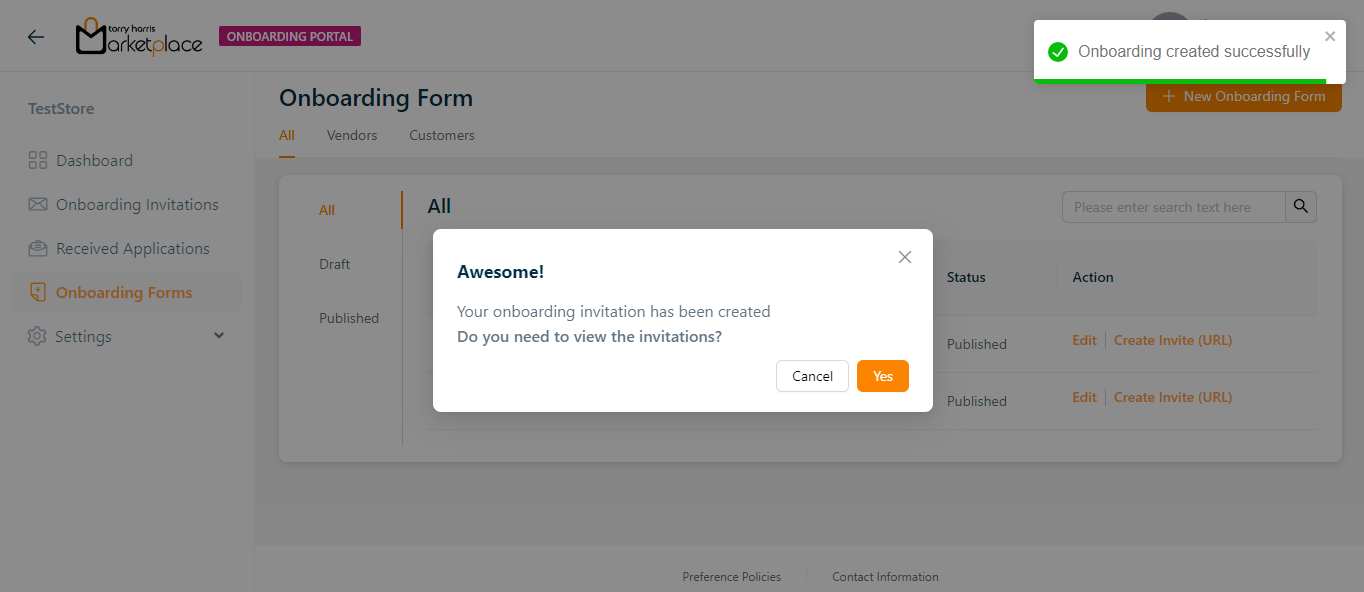
- Click Yes.
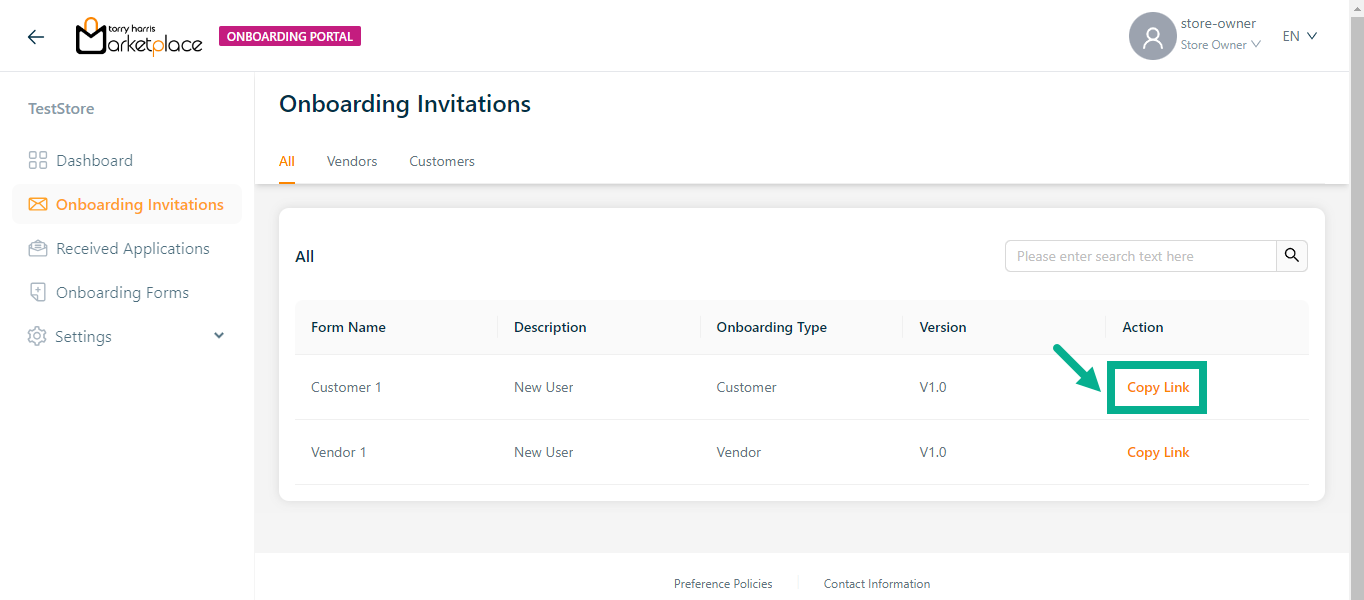
On proceeding, the Onboarding Invitations screen appears as shown below.
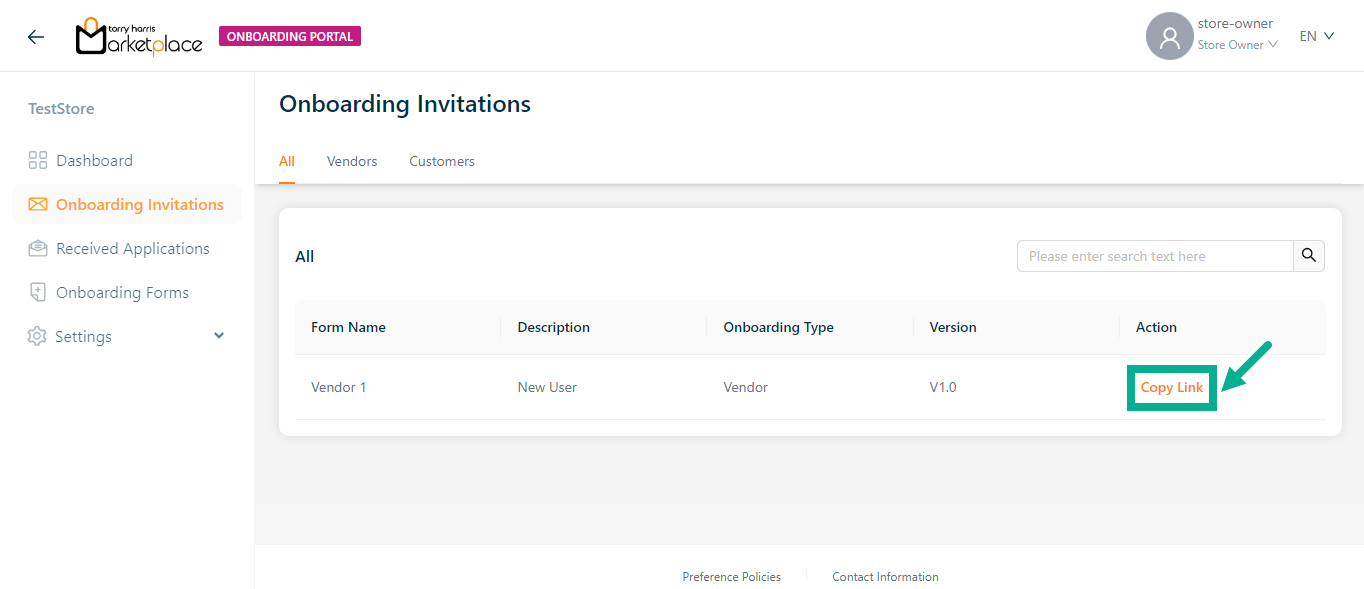
- Click Copy Link.
On copying, the confirmation message appears as shown below.

- Paste the URL to the new tab and click Enter button.
Sign Up screen appears as shown below.
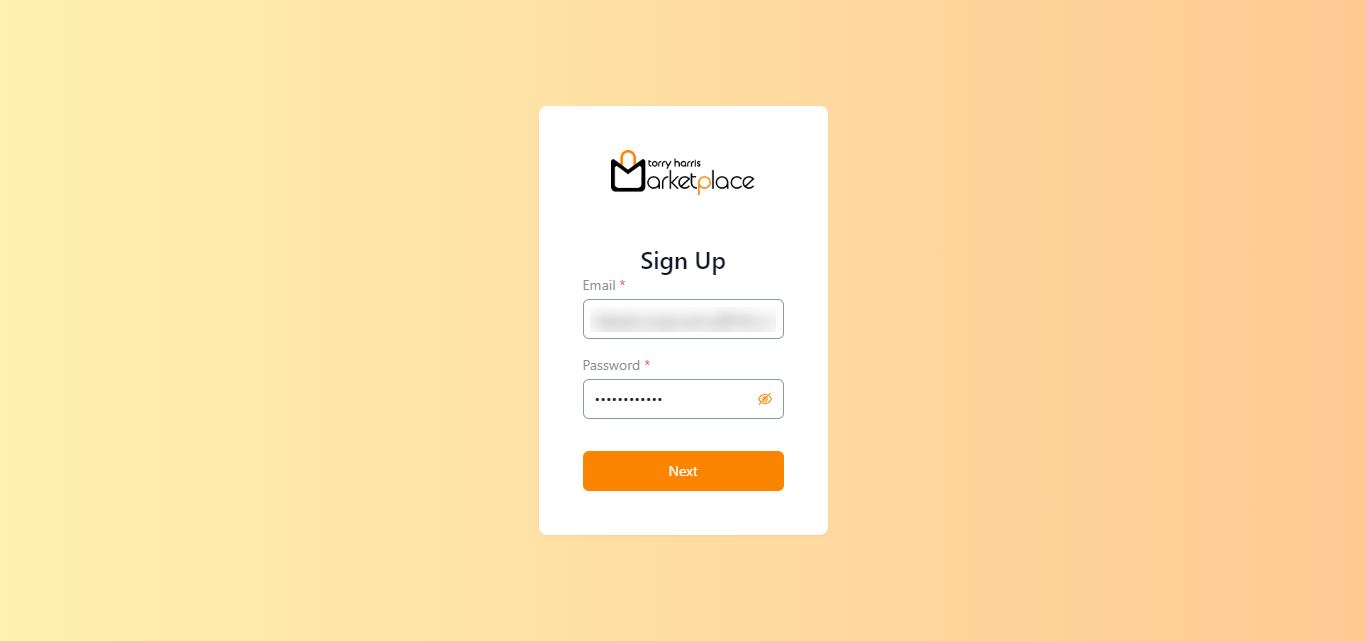
Enter Email and Password.
Click Next.
Sign Up screen appears as shown below.
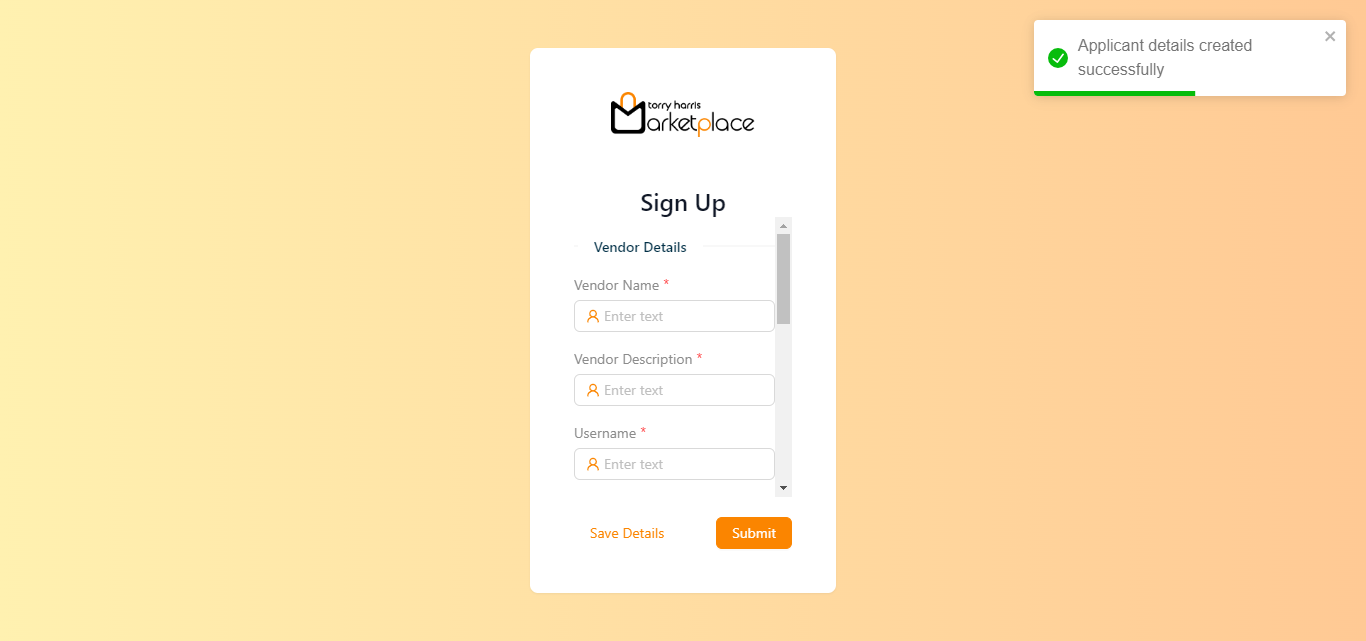
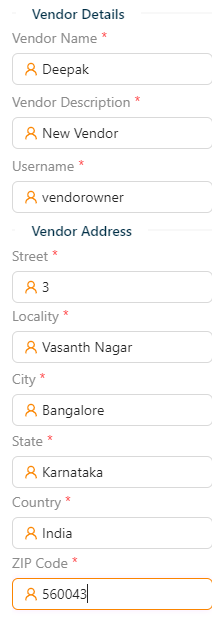
- Enter the Vendor Name, Vendor Description, and Username.
Click Save Details to save the details.
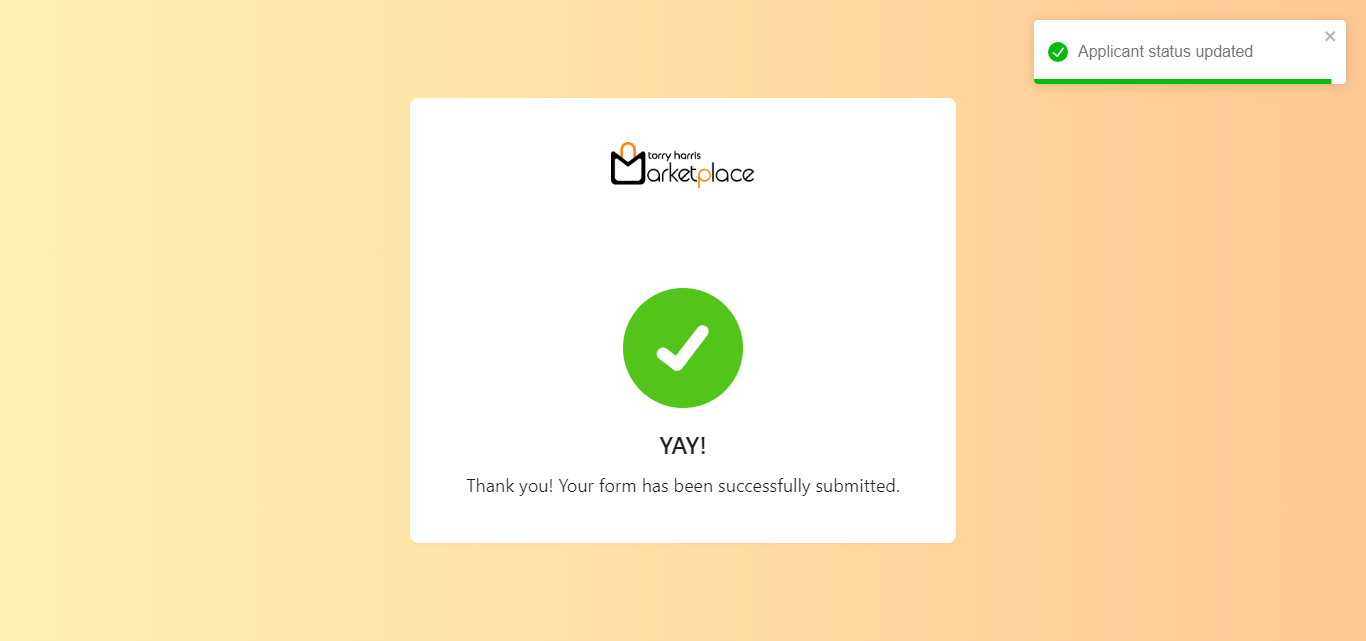
- Click Submit.
On submitting, the confirmation message appears as shown below.
Approving and verifying the onboarded Vendor
In the Received Applications page user can approve and verify the vendor after onboarding.
- Click Approve.
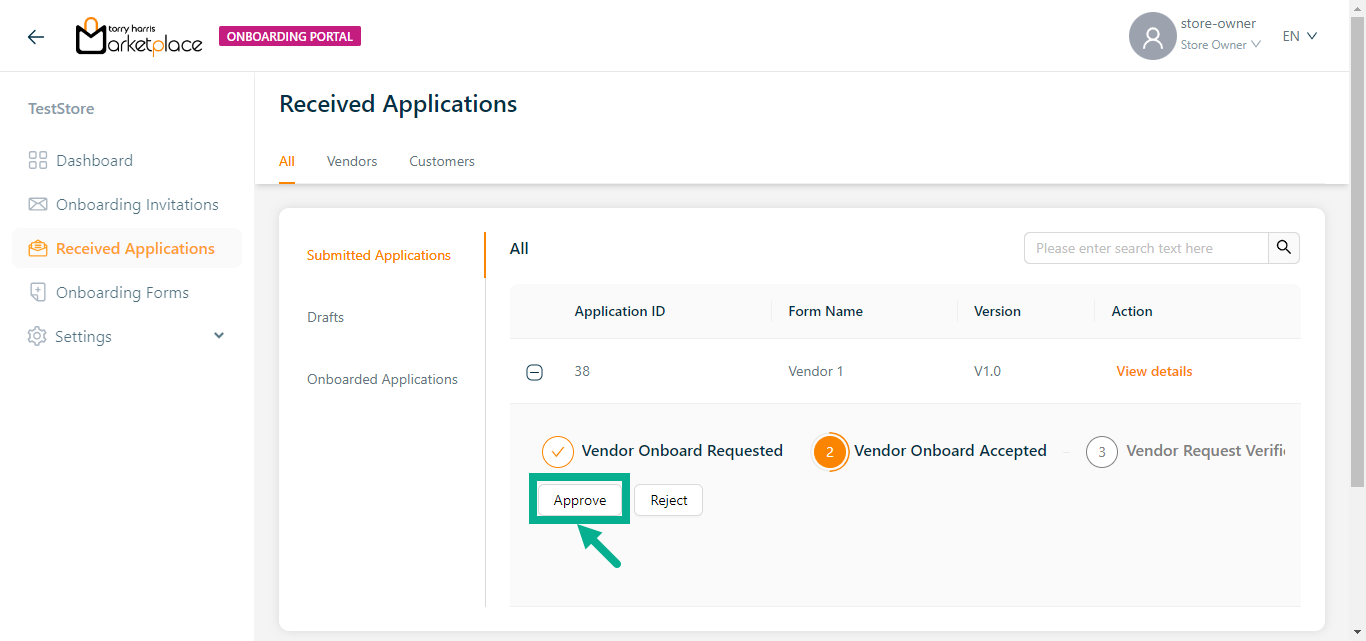
On approving, the confirmation message appears as shown below.
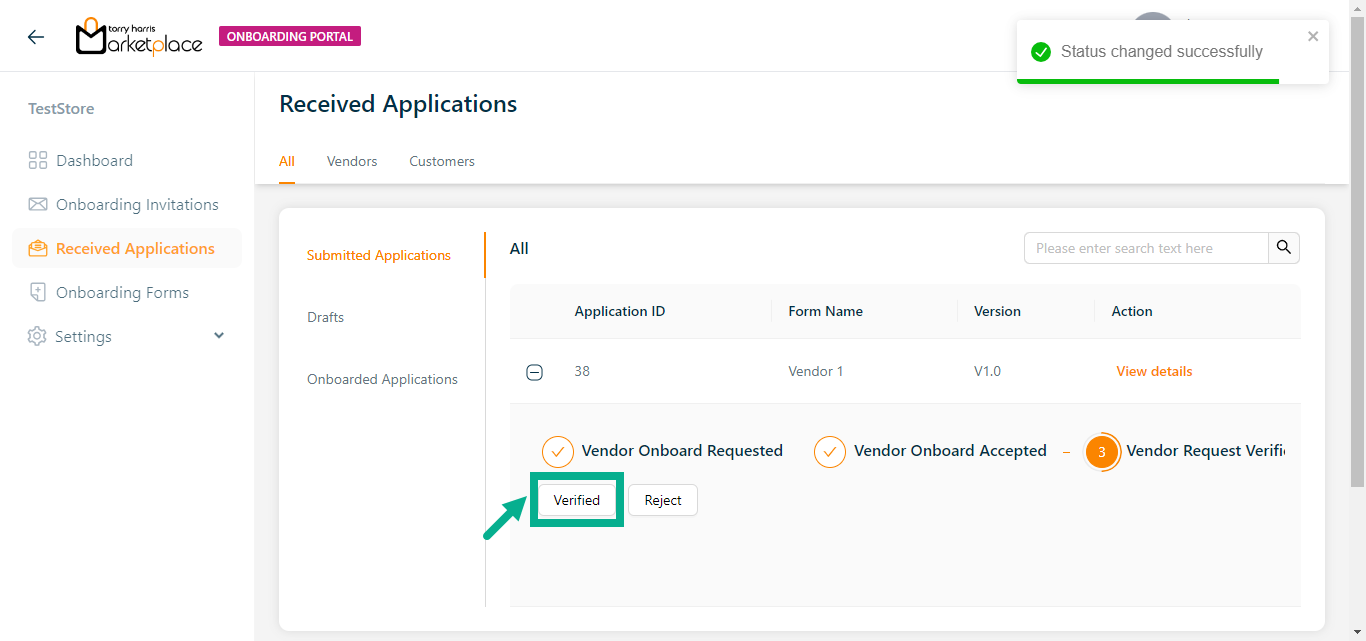
- Click Verified.
On verifying, the confirmation message appears as shown below.

- Click Onboard.
On onboarding, the confirmation message appears as shown below.

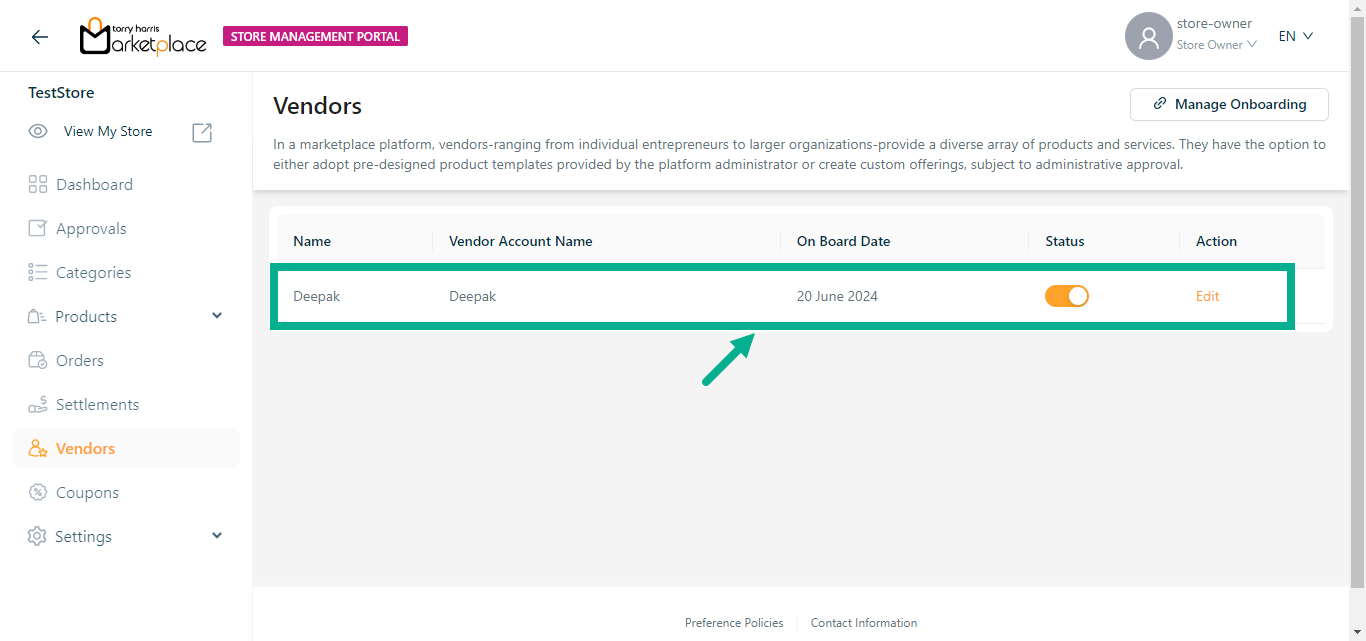
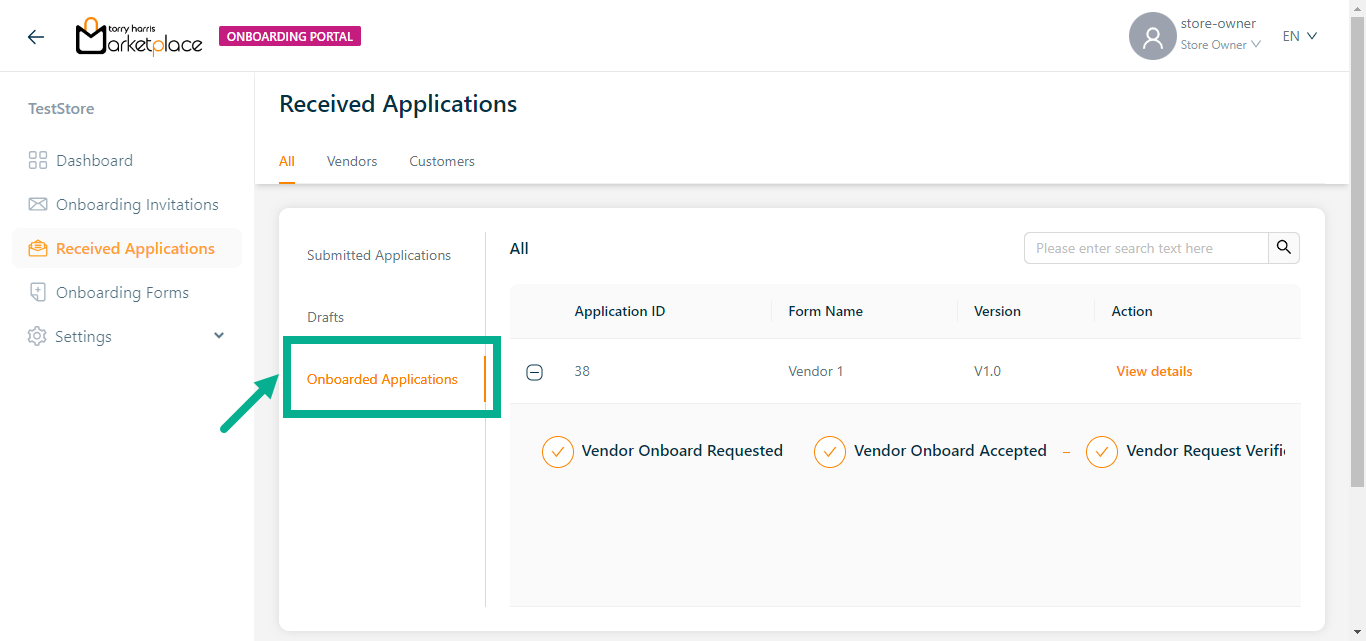
The onboarded vendor information is displayed in the Vendors module and Onboarded Applications section as shown below.
Vendors module:
Onboarded Applications:
Creating complete flow for customer onboarding form
- Click the New Onboarding Form (+ icon).
The Add New Onboarding Form dialogue box appears as shown below.
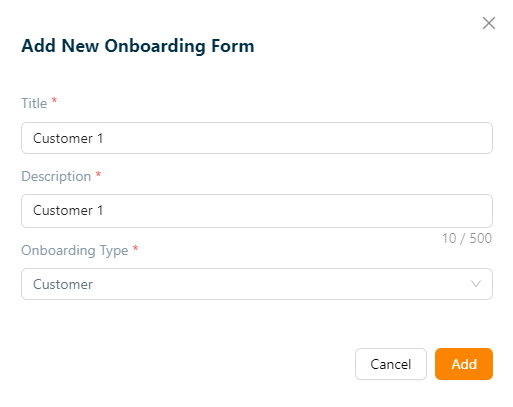
Enter the Title and Description.
Select Onboarding Type as Customer.
Click Add.
On adding, the confirmation message appears as shown below.

- Click Add Fields to add field below the Customer Details section.
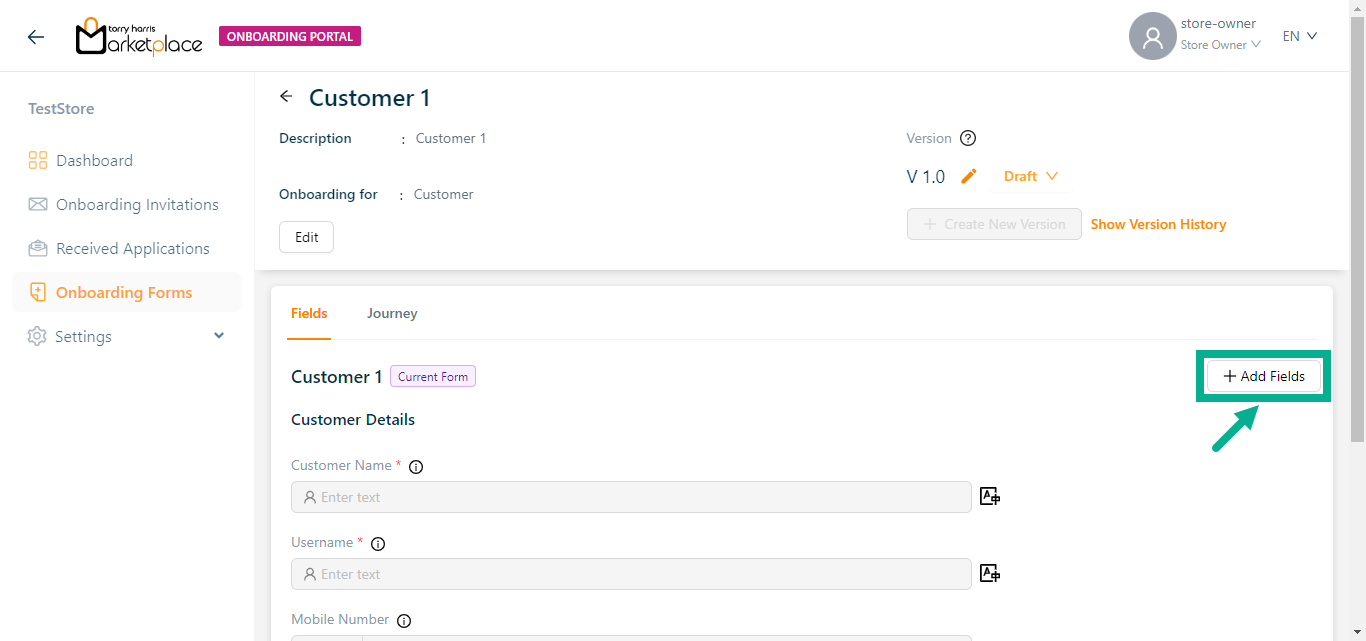
The Add Fields button is located in two places: in the top right corner and at the bottom of the Fields section.
Choose a component dialogue box appears as show below.
For instance: If the user has to include a field for the Date of birth.
a. Click Date.
Add Field dialogue box appears as shown below.

b. Select Field Group from the dropdown.
c. Enter the Field Name.
d. Select Date Format from the drop down.
e. Select the Field Preference values by clicking the corresponding checkboxes.
The various Field preference options are given below:
- Mandatory - This value is mandatory when a product is published.
- Revisable - If false, the values are allowed to be updated without approval even when the state is published. Eg:Discount by vendor published products.
- Unique - This value should be unique for store level. Eg:Email id on vendor onboarding and Mobile number on custom onboarding.
- Field Type - The type of attribute where the value is required to be fed.
- Sensitive - This is a sensitive field to encrypt the storage and display.
- Static - Static value.
f. Click Save.
Refer to the Product Templates module of the Store Management Portal/Vendor Portal to create the remaining attributes.
On saving, the confirmation message appears as shown below.
The newly created field is added to the appropriate field group, as shown below.
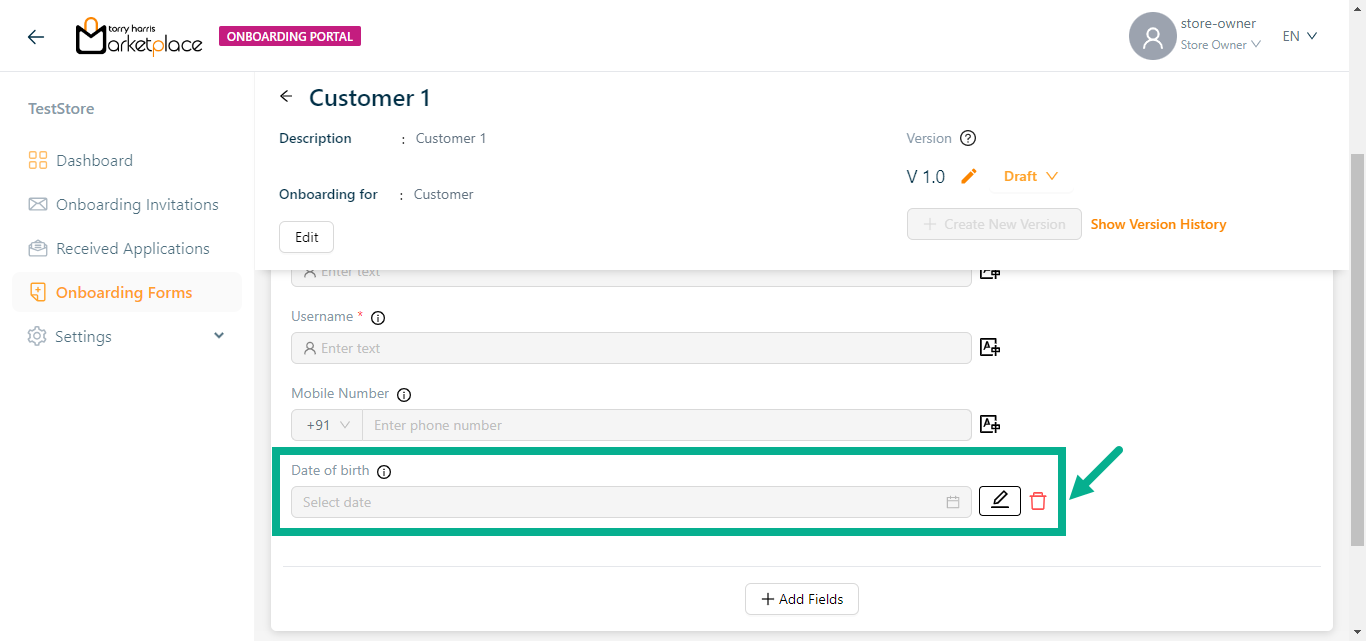
Click the Edit icon to edit the added field if necessary.
Click the Delete icon to delete the added field if necessary.
- Click Journey tab.
Before approving the onboarding template, user should configure the journey.
- Select the Associated Journey from the drop down.
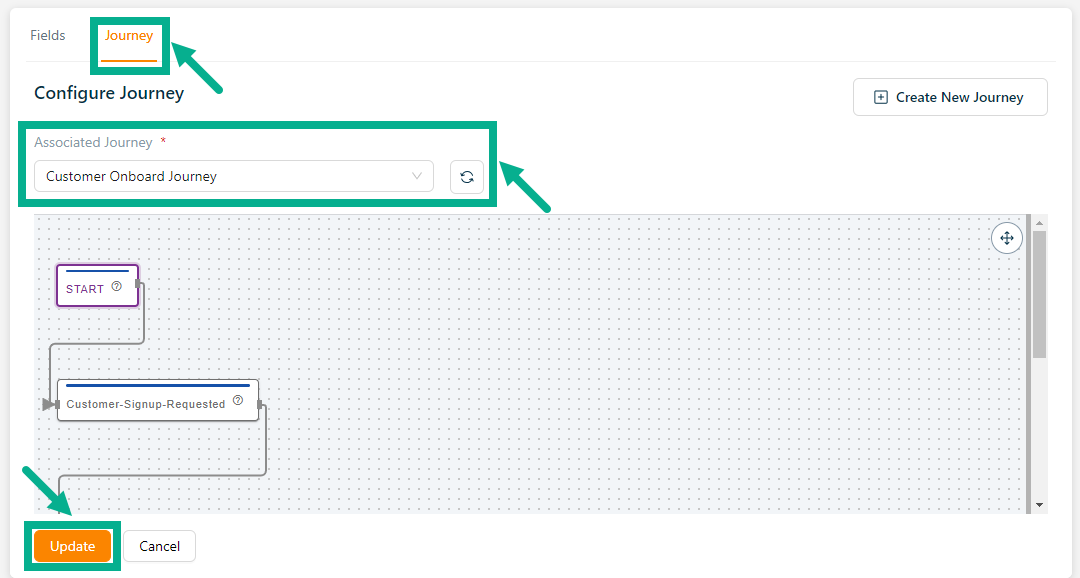
Click the Refresh icon to refresh the Default Order Journey.
- Click Update.
Upon updating, the confirmation message appears as shown below.
If a new journey is required, click Create New Journey.
Approving a Customer
- Click Approve from the drop-down.
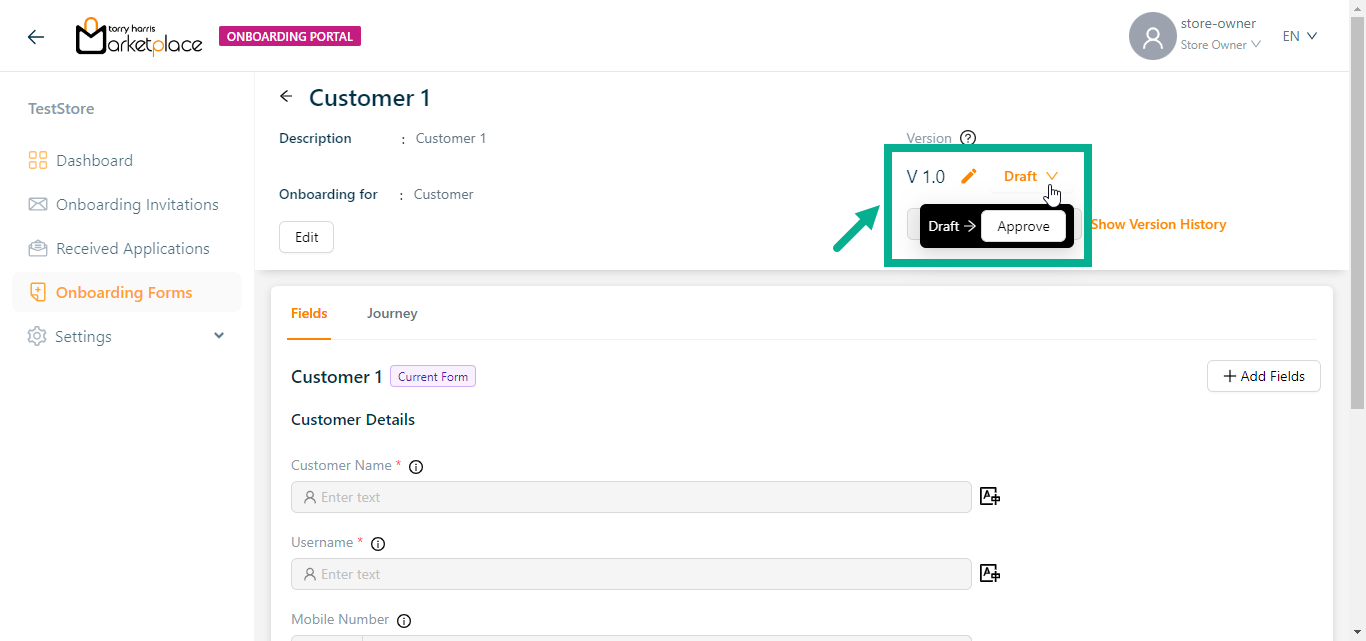
The dialogue box appears as shown below.

- Click Yes.
On proceeding, the confirmation message appears as shown below.
Deprecating a Customer
- Click Deprecate from the drop-down.
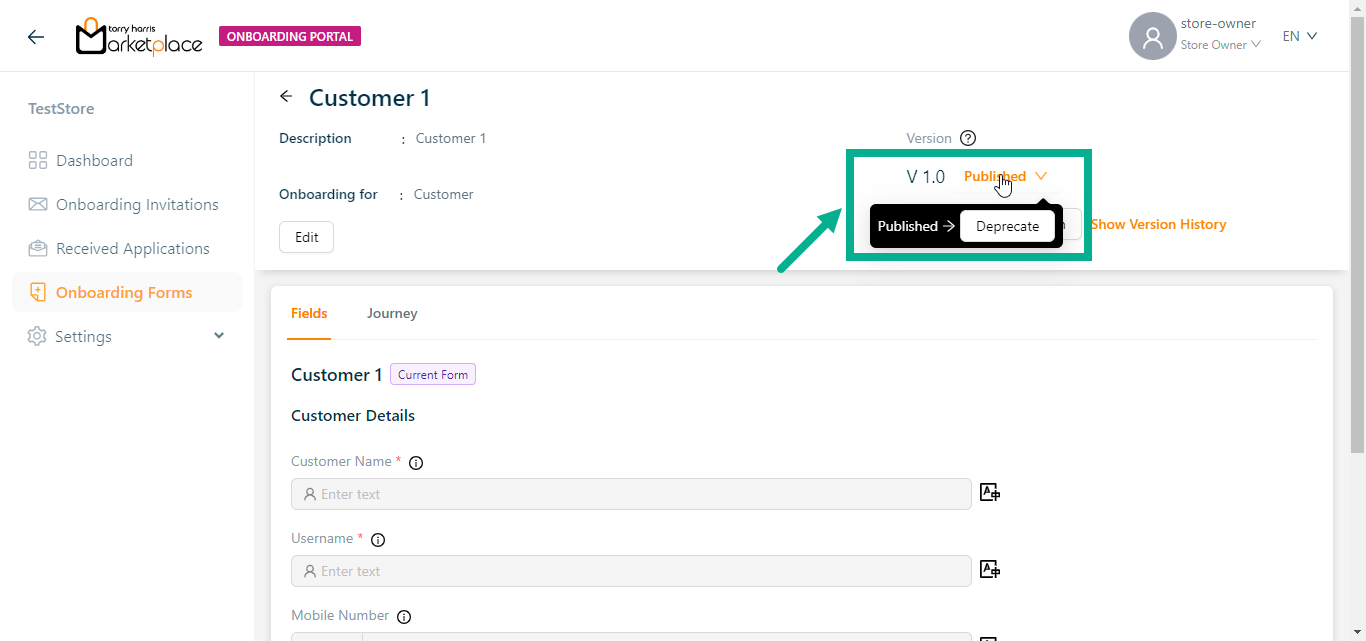
The dialogue box appears as shown below.

- Click Yes.
On deprecate, the confirmation message appears as shown below.
Creating a new version
The user can not create a new version when the customer form is in draft status.
- Click Create New Version.
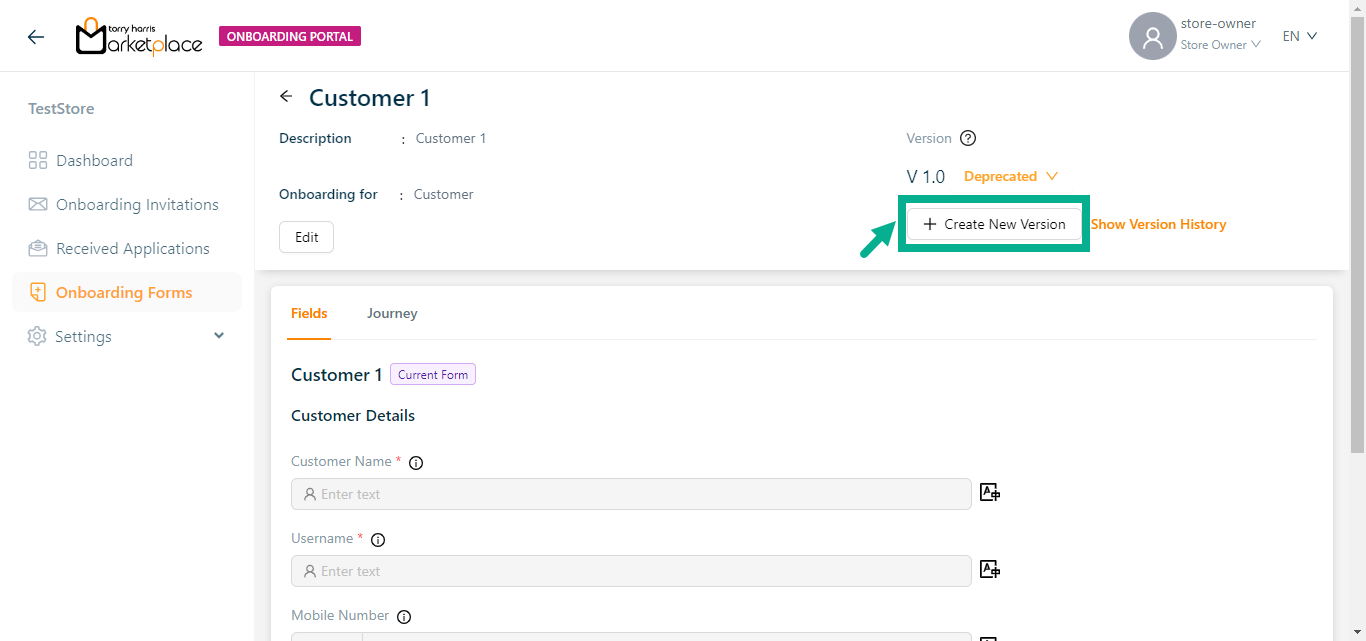
Create Onboarding Type Version dialogue box appears as shown below.

- Click the Edit icon to edit the Version Number.
In the case when the most recent version number is 1, the amended version number should be 1.1 or higher.
Enter the Version Description.
Click Create.
On creating, the confirmation message appears as shown below.
View the Version History
- Click Show Version History.
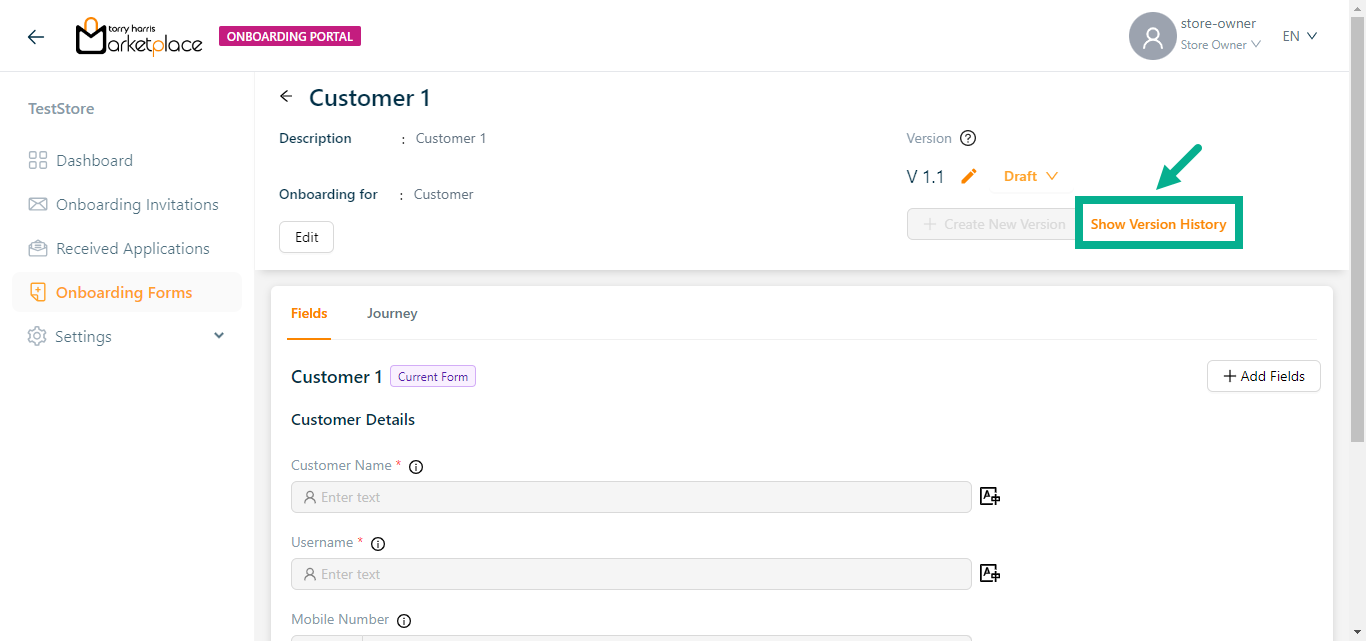
The Version History side bar appears as shown below.
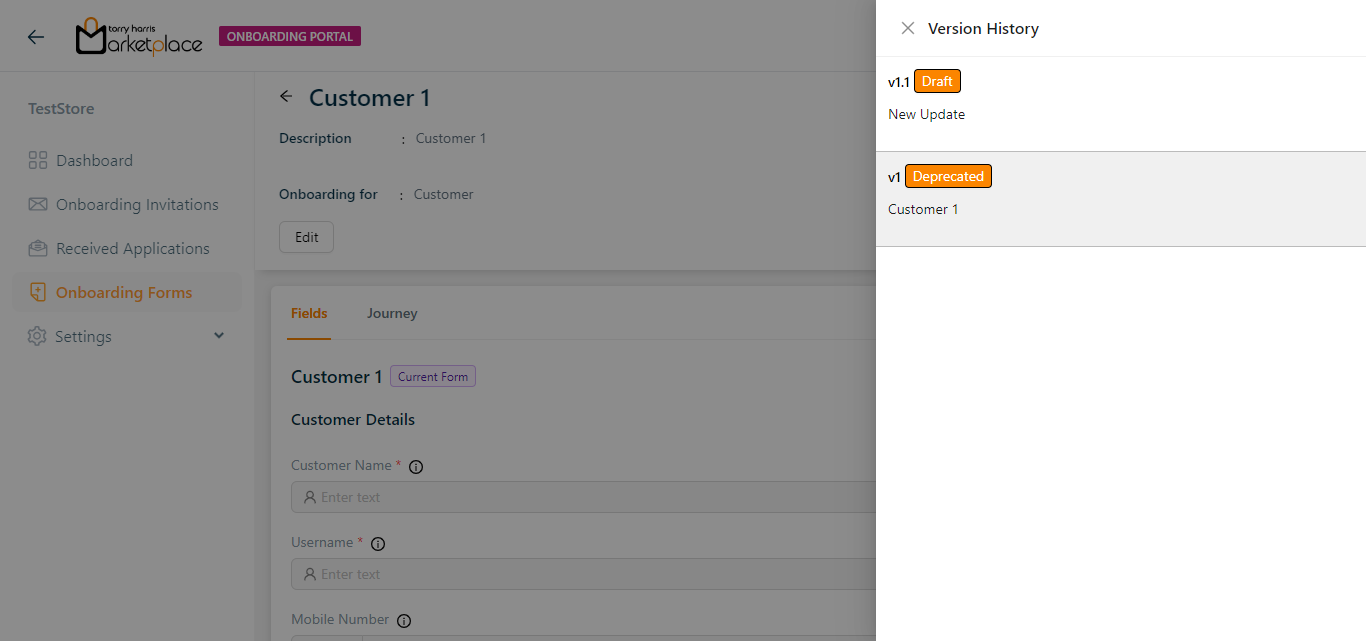
By clicking the relevant version in the Version History, a user can move between versions.
Create Invite (URL)
Create Invite (URL) can be used for forms that are in the Published status.
- Click Create Invite (URL).
Create Onboarding screen appears as shown below.
Enter Description.
Click Proceed.
On proceeding, the confirmation message appears as shown below.

- Click Yes.
On proceeding, the Invitations screen appears as shown below.
- Click Copy Link.
On copying, the confirmation message appears as shown below.

- Paste the URL to the new tab and click Enter button.
Sign Up screen appears as shown below.

Enter Email and Password.
Click Next.
Sign Up screen appears as shown below.
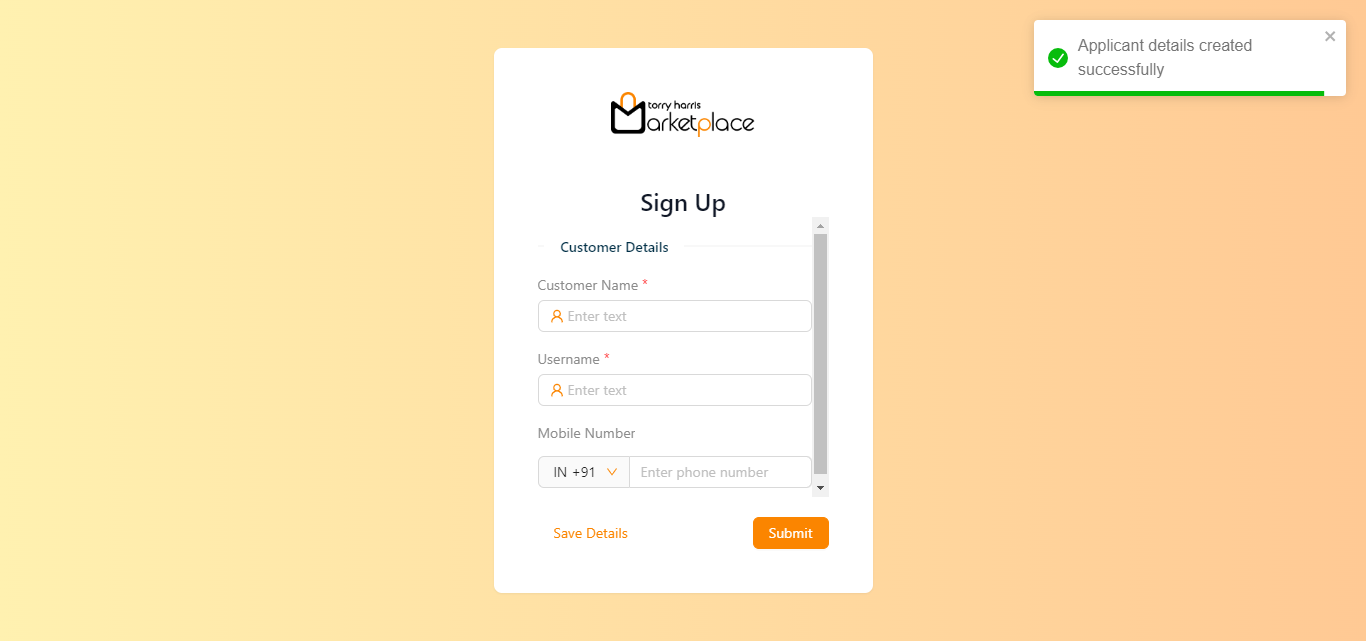
Enter the Customer Name and Username.
Select the Country code from the drop down.
Enter the Mobile Number.
Click Submit.
On submitting, the confirmation message appears as shown below.
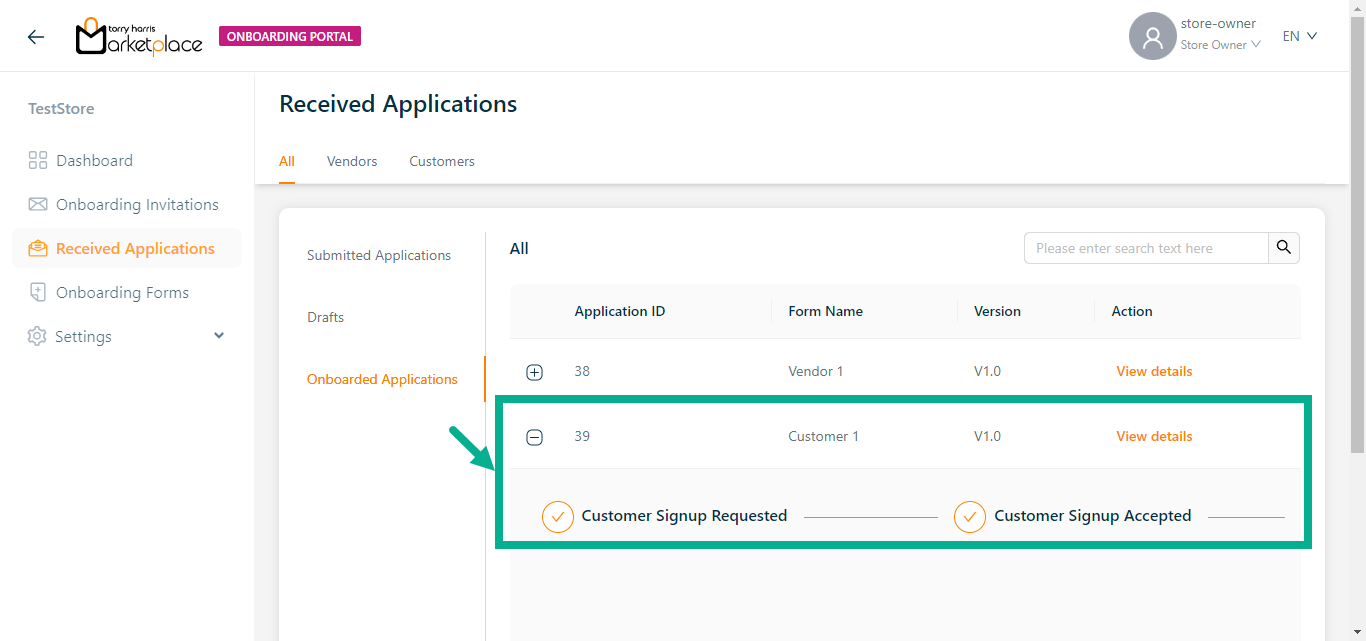
Approving the onboarded Customer
In the Received Applications page user can approve the customer after onboarding.
- Click Approve.
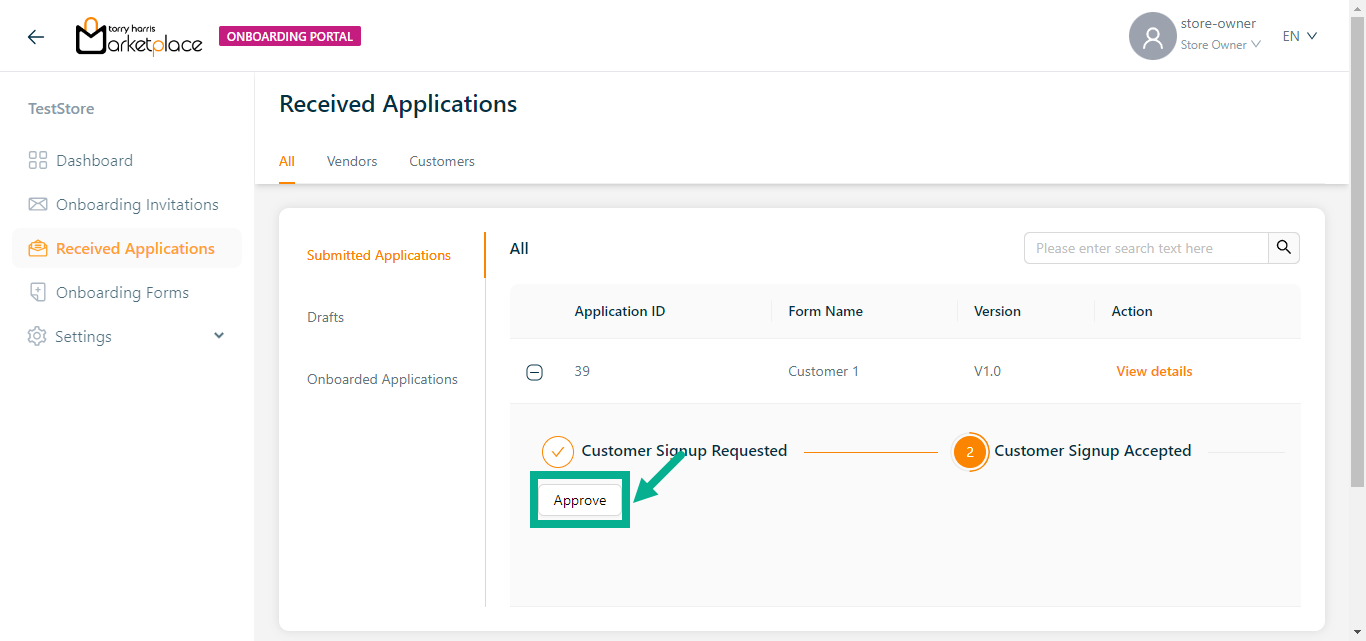
On approving, the confirmation message appears as shown below.

The onboarded customer information is displayed in the Onboarded Applications section as shown below.